
How to Colorize Black and White Photos (Without Plastic Skin)
A practical guide to colorizing old black-and-white photos: scan settings, repair order, focus/tone controls, and when automatic colour fails.
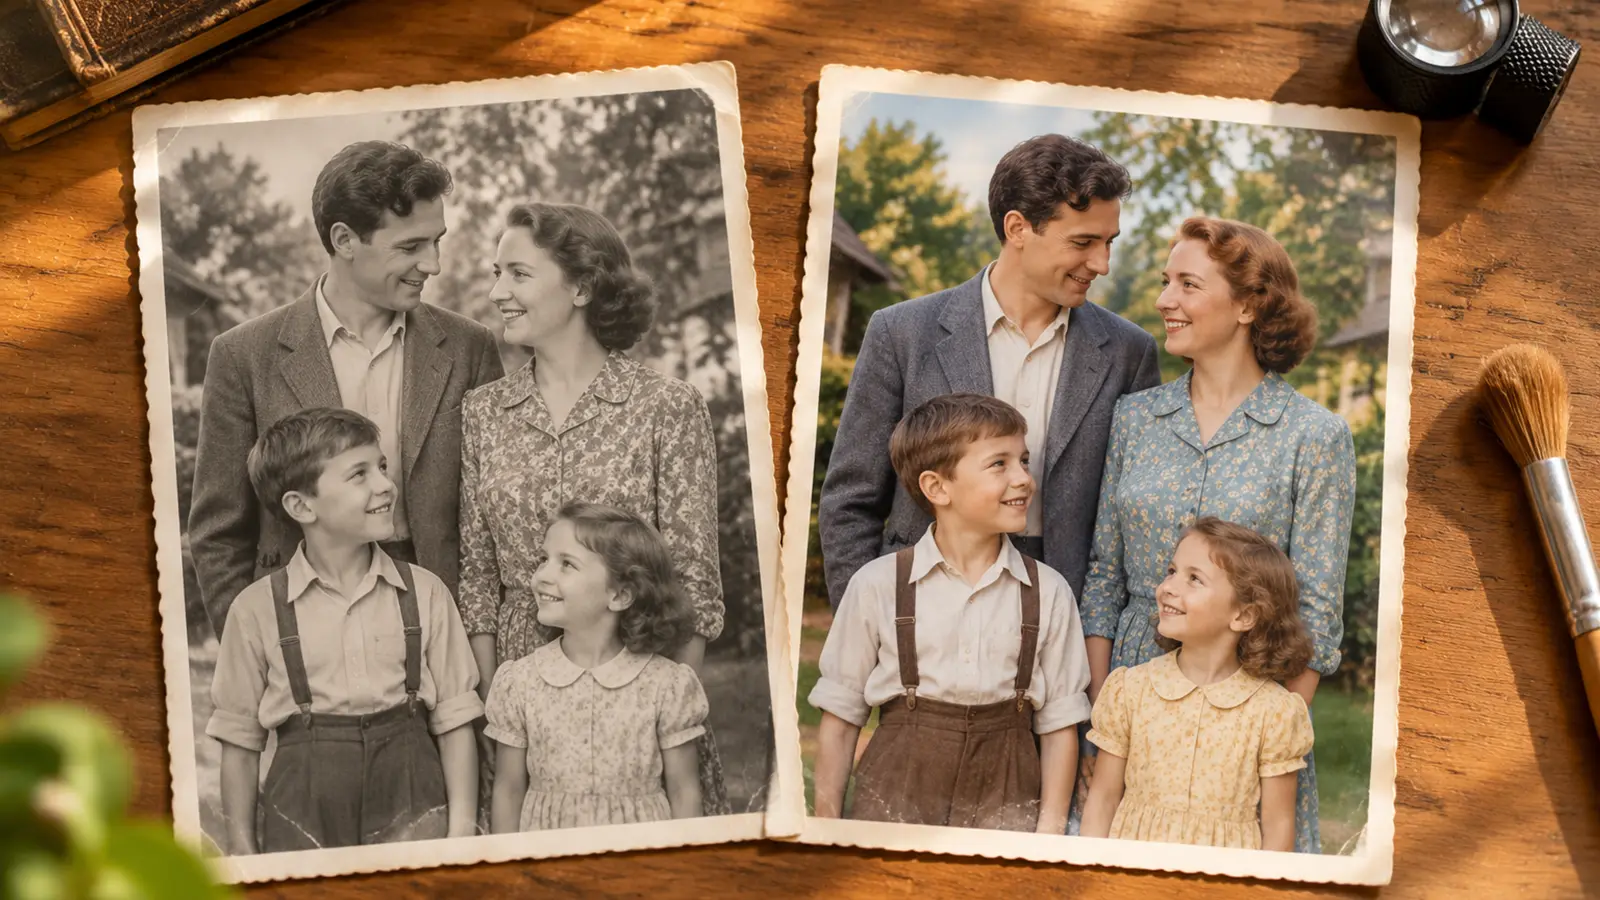
Colorizing a black-and-white photograph is not the same problem as adding a filter to a modern picture. There is no hidden color information to reveal. The tool has to infer skin, fabric, sky and background from brightness, texture and the visual conventions of the period — and then keep the result believable at full size.
Most bad colorizations fail for one of four reasons: a poor scan, damage that was not repaired first, a face that is too small or turned away, or a palette that is too saturated. This guide covers each, in the order that matters.
1. Start with a better scan
The single biggest improvement is usually the source file, not the model.
- Scan at 300–600 dpi in color mode, even if the original is black and white. A color scan keeps the paper grain and subtle tonal shifts that a greyscale scan throws away.
- If you only have the print, photograph it flat in even daylight. Avoid flash, and avoid reflections from glossy paper.
- Crop to the photograph itself. A scanner bed full of black border gives the model no useful context.
- Keep the largest file you have. A screenshot of a photo has already lost most of the detail the colorizer needs.
A clean 600 dpi scan and a phone snapshot of the same print can produce visibly different results. The model can only color what it can see.
2. Repair damage before you colorize
Cracks, creases and scratches read as edges. A colorizer will often pull color into those edges, leaving colored streaks across the damage. The repair pass should come first.
Use the old photo repair tool to remove physical damage, then send the clean file to the photo colorizer. This order also makes the result easier to judge: you are looking at color, not at a repaired crack.
3. Choose focus and tone deliberately
The colorizer has two controls that matter more than any prompt:
- Focus tells the model what to prioritize: people, landscape and sky, or the whole frame. A family portrait should use the people focus; a street scene or landscape usually looks better with the environment focus.
- Tone controls how saturated and how vintage the palette is. Natural is the safest default for family photos. Vintage suits historical scenes and older film. Vivid is best for landscapes, posters and images where the original colors are already strong.
If the first result is too strong, lower the tone and run it again. Do not stack passes on the same file; each pass can smooth grain and push the image further from the original.
4. Know the failure cases
Automatic colorization is strongest on skin, clothing and sky. It is weakest where the correct color depends on specific knowledge:
- Small or partly hidden faces. A face a few dozen pixels wide, or a profile with a hand across the cheek, gives the model little to work with. Crop to the face and process it separately if the result matters.
- Uniforms, insignia and signage. The model may choose a plausible color that is historically wrong. If you can verify the color from a record or a relative, treat the automatic result as a starting point, not an answer.
- Sepia originals. A sepia print already has a color cast. The model has to separate that cast from the underlying image, and skin can come out too warm. Try the natural tone first.
- Heavily damaged prints. Damage that covers a face is a reconstruction problem, not a color problem. Repair first.
5. Judge the result at full size
Thumbnails hide the problems that matter. Zoom in on faces, hands and text before you print or share.
Ask three questions:
- Does the skin look like skin, or like a flat cosmetic tone?
- Do the clothes and background belong to the same light as the face?
- Is there any area where the color is clearly invented — a uniform, a sign, a piece of furniture you remember?
If the answer to the third question is yes, and the detail matters, a manual colorization by someone who can research the period may be the better choice. For a family album or a social post, a good automatic result is usually enough.
A realistic workflow
- Scan at 300–600 dpi in color mode.
- Repair scratches and creases.
- Colorize with the people focus and natural tone.
- Compare at full size; re-run with a different tone only if needed.
- Download and keep the untouched scan next to the colorized file.
The last step matters. A colorized image is an interpretation, not a record. Keeping the original scan means you can always try again with a better model or a different palette.
Ready to try it? Open the AI photo colorizer and use your 10 welcome credits. If the photo is damaged, start with old photo repair.
Related guides and pricing
Ready to try it? Compare plans and credit packs or open the photo colorizer. Related guides: removing scratches from old photos and the vintage restoration guide.