
How to Remove Scratches from Old Photos (Without Smearing Detail)
A practical guide to removing scratches, creases and dust from scanned prints: what to fix by hand, what AI repair does, and when damage is beyond saving.
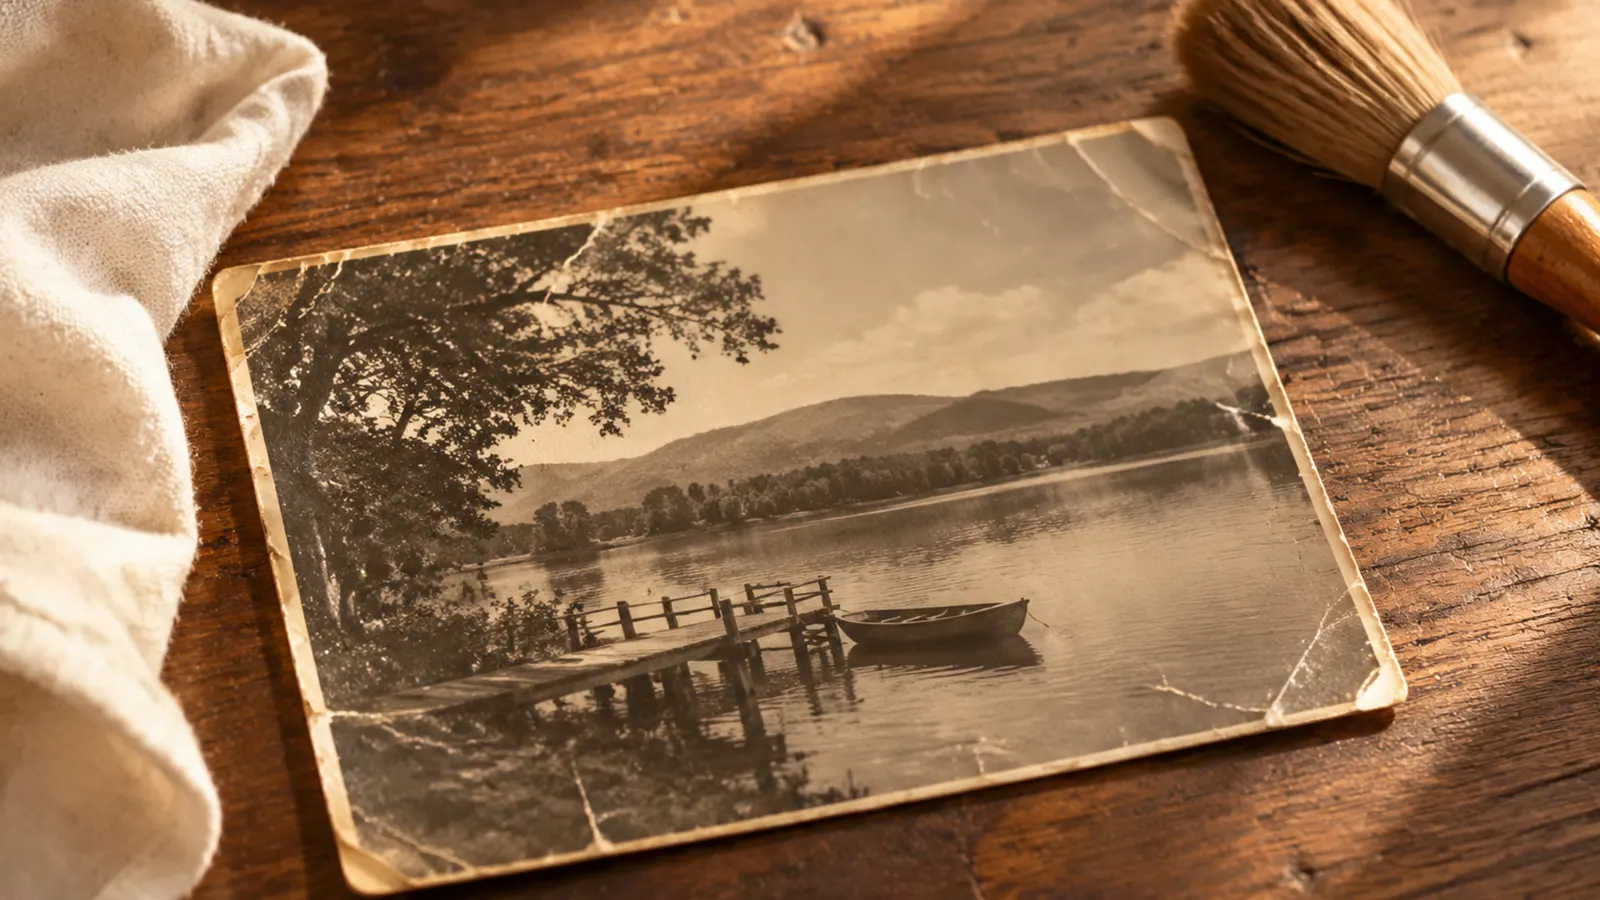
Scratches are the most common damage on old prints and the easiest to make worse. A clone-stamp pass in Photoshop can remove a scratch in a minute, but on a face or a textured background it often leaves a smooth patch that is more obvious than the scratch was. AI repair is better at some cases and worse at others. This guide explains the difference and gives a workflow that keeps the paper texture intact.
Why scratches are a repair problem, not a color problem
A scratch is not a color error. It is a narrow band where the emulsion or the print surface is missing, so the scanner records a bright line instead of image content. Colorizing or sharpening a scratched file makes the problem worse: the colorizer pulls color into the line, and sharpening turns it into a hard edge.
The order is always: scan → repair → colorize → sharpen. Repair first.
What you can do by hand
Before using any model, check whether the scratch is actually in the scan or on the scanner glass.
- Clean the scanner glass and the print. Dust and fingerprints on the glass produce soft marks that look like damage.
- Rescan at 300–600 dpi in color mode. A higher-resolution scan gives repair tools more surrounding texture to rebuild from.
- Use a clone or heal tool for isolated scratches on plain backgrounds. For a scratch across a sky or a wall, manual retouching is often perfect and faster than a model.
- Do not clone across a face by hand unless you are experienced. A repeated patch of skin is easy to spot, and faces are what people check first.
If the print is torn or missing a corner, manual retouching becomes a reconstruction problem. That is where AI repair is more useful.
What AI repair does differently
A repair model is trained to separate damage from image content. It masks the scratch and rebuilds the area from the grain and structure around it, rather than copying a patch from somewhere else.
That has three practical consequences:
- Texture survives. A good result keeps the paper grain and the film grain. A waxy, plastic patch means the model smoothed too much, usually because the scan was low-resolution.
- Faces are preserved. The model is instructed to keep identity, proportions and expression. It should not beautify or reshape the face while removing a scratch.
- Missing areas are guesses. A scratch that covers a cheek can be rebuilt plausibly. A corner that contained part of an eye cannot be recovered — the model will invent something that fits, and it may be wrong.
A workflow that works
- Scan the print at 300–600 dpi in color mode, even if it is black and white. Crop to the print.
- Repair the damage with a dedicated repair pass. Do not use the colorizer first.
- Check faces and hands at full size. These are the areas where a repair is most visible.
- If a repair looks waxy, rescan at a higher resolution and run it again instead of stacking passes.
- Colorize only after the repair is clean. Cracks and creases read as edges and will pull color into the damage.
- Keep the original scan. A repaired file is a derivative; the original is what you re-run later.
When a scratch is beyond repair
Some damage destroys information rather than covering it:
- a face burned away or cut out of the print;
- heavy mould that has eaten the emulsion;
- water stains that bleached a whole area;
- a scratch so wide that the surrounding texture is gone.
A repair tool can still produce a smooth image, but the detail you are hoping for is not in the scan. For a family print, a plausible reconstruction may be enough. For publication or archive use, keep the original and treat the repaired file as an interpretation.
Prevention
- Store prints flat, away from damp and direct sun.
- Use acid-free sleeves; ordinary paper and PVC can stain the print over time.
- Handle prints by the edges.
- Scan once at high resolution and keep the master file; do not rescan a repaired JPEG later.
Ready to try it? Open old photo repair, upload the scan and use your 10 welcome credits. If you also want color, send the clean file to the photo colorizer.
Related guides and pricing
Ready to try it? Compare plans and credit packs or open the old photo repair tool. Related guides: colorizing black-and-white photos and AI vs manual restoration.