
Vintage Photo Restoration Guide: What to Expect by Decade
How photographs from the 1920s to the 1980s age differently, what damage is typical for each era, and what a restoration can and cannot recover.
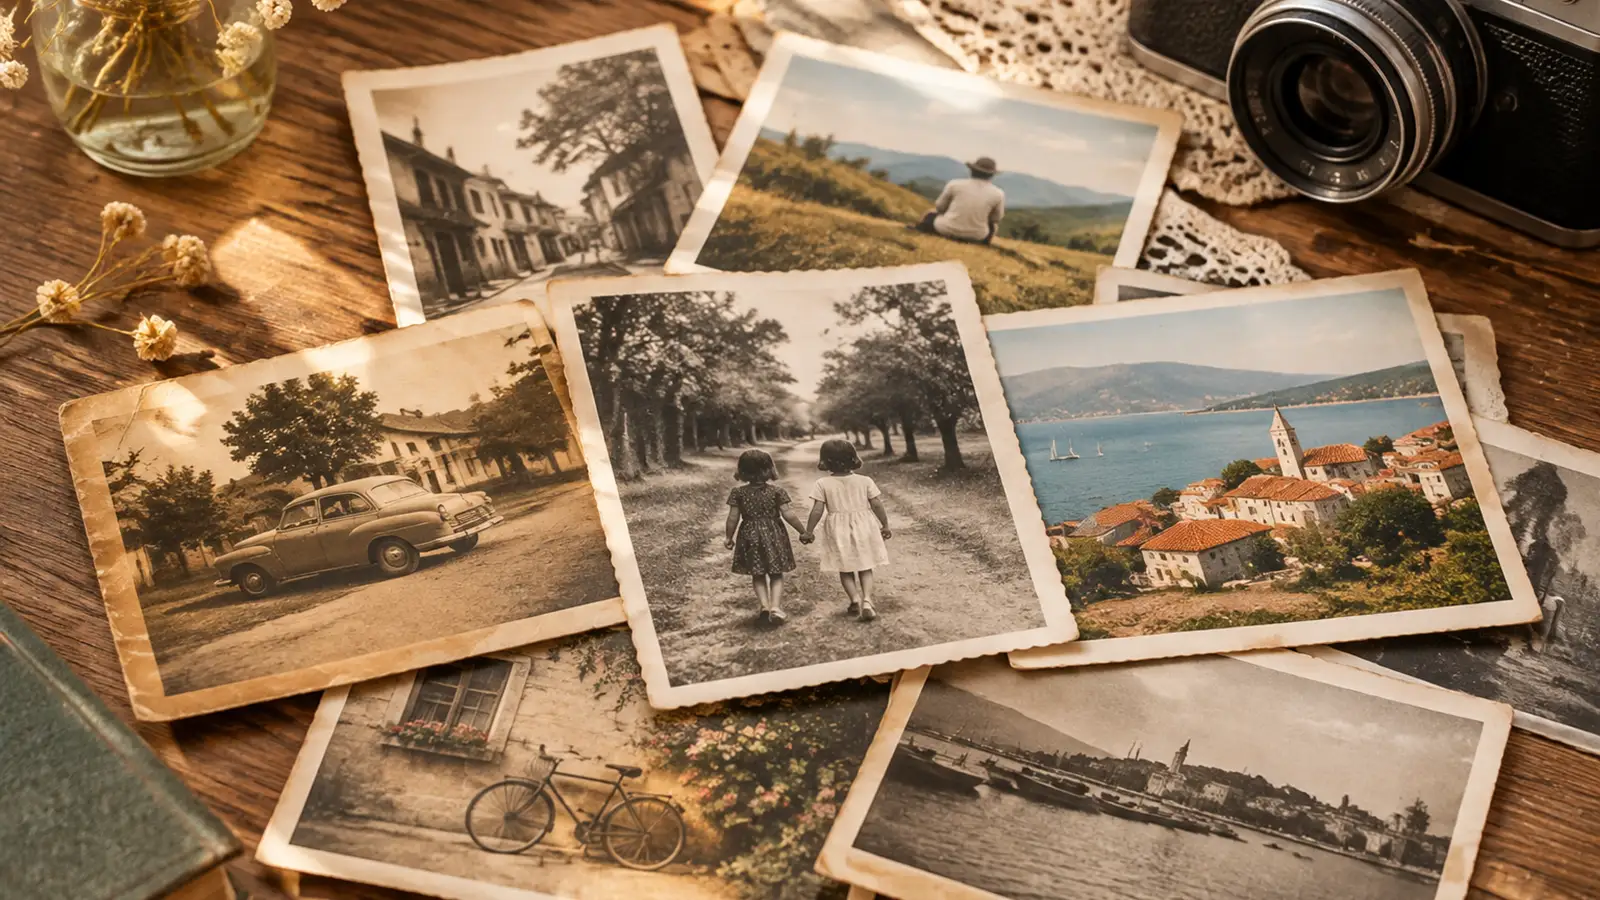
A photograph is a physical object, and the decade it was made in determines how it fails. A 1920s studio portrait, a 1940s military photo and a 1980s colour print have different emulsions, different paper and different common damage. Knowing the era helps you set realistic expectations — and helps you choose the right repair pass.
This guide covers the decades most family collections fall into. It is not a conservation manual; it is a practical map of what you are likely to see and what a restoration can do about it.
1900s–1920s: studio portraits and silver gelatin
What you have. Usually a black-and-white or sepia print, often mounted on card, made in a studio with controlled lighting. The image is sharp in the centre and falls off at the edges.
Typical damage. Silvering (a metallic sheen), foxing (brown spots), edge wear, cracks in the emulsion, and fading from light exposure. Card mounts often have stains from glue or tape.
What restoration can do. Scratches, spots and edge damage are usually recoverable. Silvering and heavy foxing may need tone correction rather than spot removal. The original sepia tone is often worth keeping; full colorization is a separate choice, not a repair.
What to watch. Studio props and painted backdrops have documented colors; the model may invent a plausible but wrong tone. If the backdrop matters, keep it neutral or verify it.
1930s–1940s: nitrate film and wartime portraits
What you have. Black-and-white prints from roll film, often small (6×9 cm or smaller), with military portraits, family groups and snapshots. Nitrate film degraded badly; many negatives are lost.
Typical damage. Creases from folding, torn corners, water stains, heavy grain, and fading. Military uniforms are common, and their colors are historically specific.
What restoration can do. Creases and tears are good candidates for repair. Faces are usually small, so scan at 600 dpi if possible. Grain can be reduced, but over-smoothing makes the photo look plastic.
What to watch. Uniform colors, insignia and medals. Do not trust an automatic colorization for these; verify with a record or a relative. A monochrome restoration is often the more honest result.
1950s: early colour and pastel prints
What you have. A mix of black-and-white and early colour prints or slides (Kodachrome, Ektachrome). Colour is often pastel, with strong reds and warm skin tones.
Typical damage. Dye fading, colour casts, scratches on glossy paper, and dust. Slides may have mould or vinegar syndrome.
What restoration can do. Faded colour prints still contain hue information; the job is to restore saturation and correct the cast, not to invent colors. A good result keeps the original pastel look rather than turning it into a modern saturated image.
What to watch. Over-saturation. The 1950s palette is muted; a vivid result is usually wrong.
1960s: colour snapshots and school photos
What you have. Colour prints from consumer film, school class photos, family snapshots. Colour is often warm, with orange or yellow casts from ageing.
Typical damage. Yellowing, fading, scratches, and colour shifts. Group photos may have small faces and mixed skin tones in one frame.
What restoration can do. Cast correction and scratch removal are reliable. Small faces are the hard part; scan at high resolution and check each face at full size.
What to watch. Mixed skin tones in one frame. A model that averages skin tones can make everyone look the same; a good result keeps the differences.
1970s: warm colour and interiors
What you have. Colour prints with warm browns, oranges and yellows, often indoors with tungsten light. Clothing and decor are strongly period-specific.
Typical damage. Fading, colour casts, scratches, and prints that have been stored in albums with adhesive pages (which can stain the back).
What restoration can do. Tone and cast correction works well. The warm palette is part of the era; do not neutralize it completely.
What to watch. Interiors and furniture colours. If you remember the room, compare the result with your memory; if not, keep it conservative.
1980s: glossy colour prints and layer loss
What you have. Colour prints from the consumer labs of the decade, often glossy, with strong primaries and flash photography.
Typical damage. One dye layer fades first, producing a green or magenta cast. Scratches on the glossy surface, dust, and fading.
What restoration can do. A faded 1980s print still has hue information; restore saturation and correct the cast. If the print is torn, repair first.
What to watch. Magenta or green casts that are corrected too aggressively can make skin look grey. Compare the result with a known reference if you have one.
What restoration cannot do
Across every decade, the limits are the same:
- It cannot recover detail that was never captured.
- It cannot recover a face that was burned, cut out or eaten by mould.
- It cannot know a uniform or sign color without a reference.
- It cannot make a low-resolution scan sharp by colorizing it.
A restoration is an interpretation built from what is visible. That is why the original scan matters: keep it, and treat the restored file as a derivative.
A decade-proof workflow
- Identify the process if you can (silver gelatin, chromogenic print, slide). It tells you what damage to expect.
- Scan at 300–600 dpi in colour mode, even for black-and-white prints.
- Repair physical damage first with the old photo repair tool.
- Correct tone and colour with the photo colorizer if the print is black and white or faded.
- Check faces, uniforms and signage at full size.
- Keep the original scan next to the restored file.
If you are not sure which decade you are dealing with, start with a repair pass and a conservative tone. It is easier to add colour later than to undo an over-processed result.
Related guides and pricing
Ready to try it? Compare plans and credit packs or open the AI photo restoration tool. Related guides: colorizing black-and-white photos and AI vs manual restoration.