
AI photo colorizer
AI Photo Colorizer: Colorize Black and White Photos Online
Upload a black-and-white photo and get a colour version in seconds — realistic skin tones, clothing and backgrounds, with controls for what to emphasize and how vintage the palette should look.
Image Upload
Style
Focus
Tone
Try these examples
Aspect Ratio
Image Resolution
 GPT Image 2.5 Flare
10 welcome credits · No watermark · JPG, PNG or WEBP up to 5 MB
Your photos stay in your account and are never used to train models.See how we handle your files →
Colorize Photos in Three Steps
Sign in once, then upload and go. The editor is the same tool that powers the rest of the site.
- 01
Upload your photo
JPG, PNG or WEBP up to 5 MB. A colour scan of a black-and-white print keeps the paper grain, which usually gives a better result than a greyscale scan.
- 02
Choose focus and tone
Emphasize people, scenery or the whole frame, then pick natural, vintage or vivid. The model colours faces, clothing and background separately before blending them.
- 03
Review and download
If the result is too strong or too muted, change the tone and run it again. The output has no watermark, and it is saved in your account.
Before and After
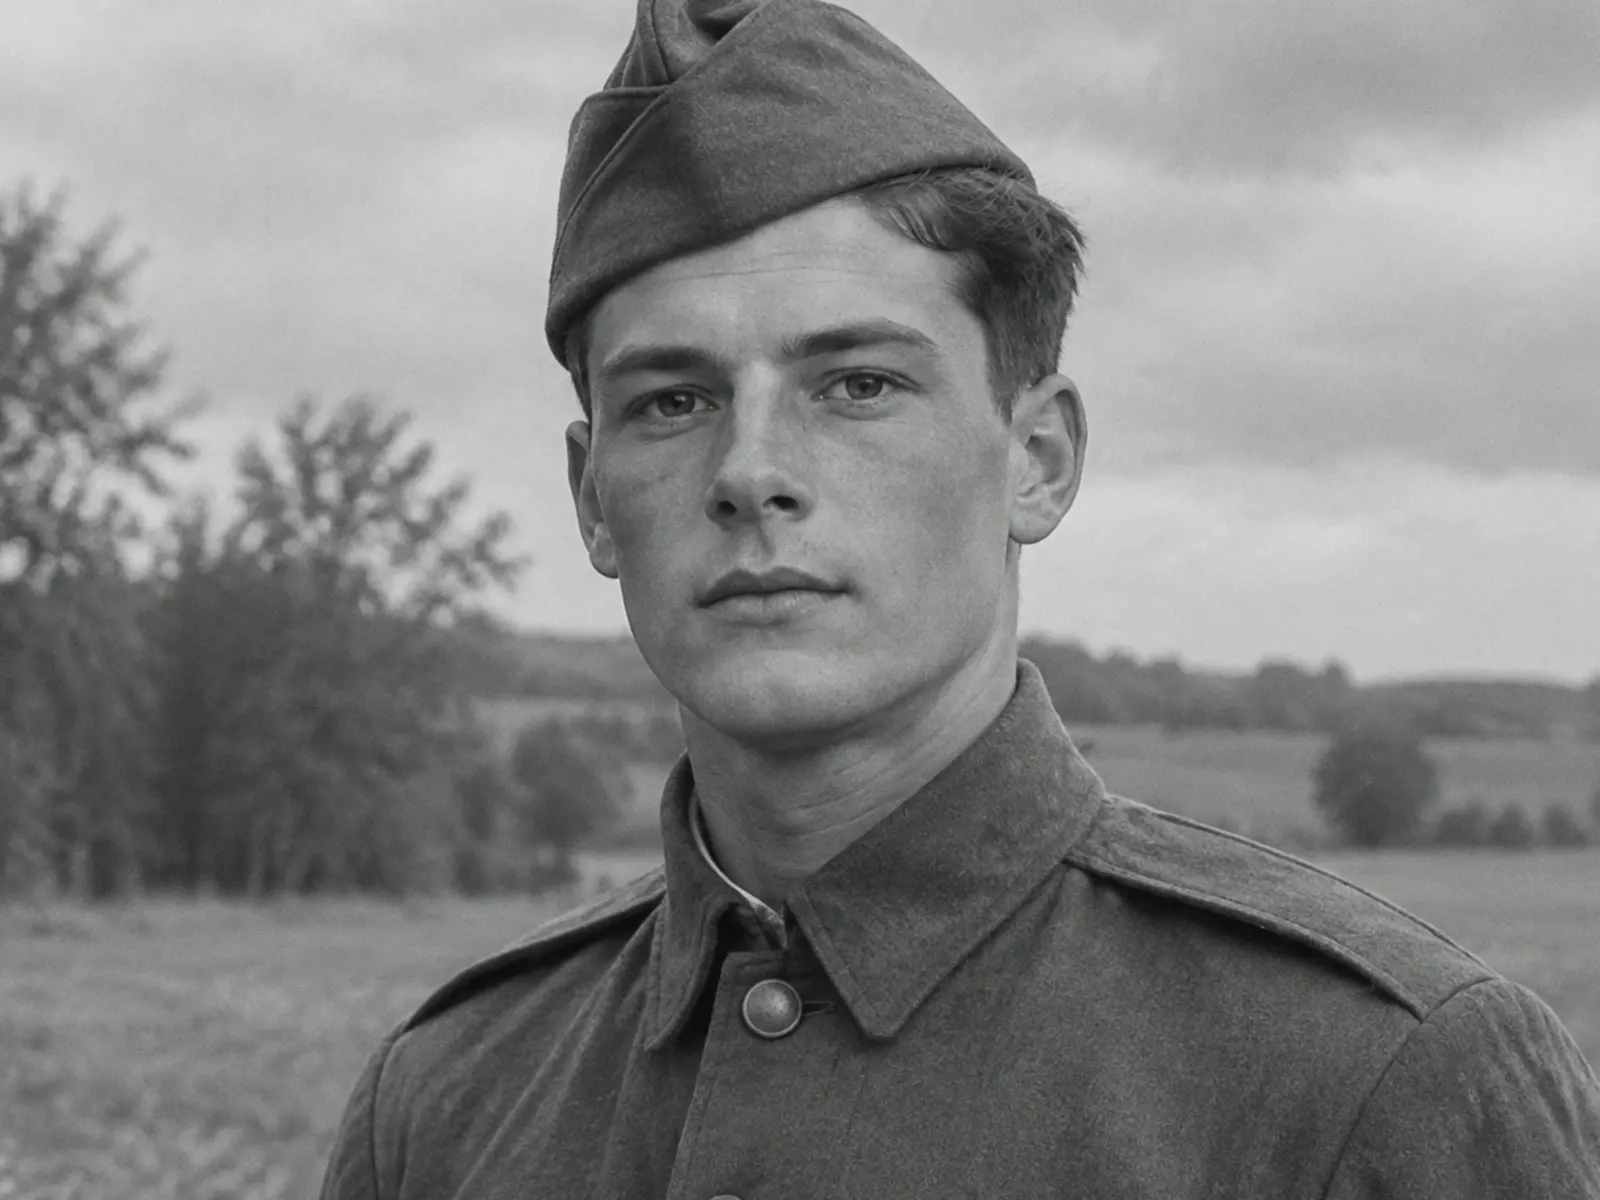
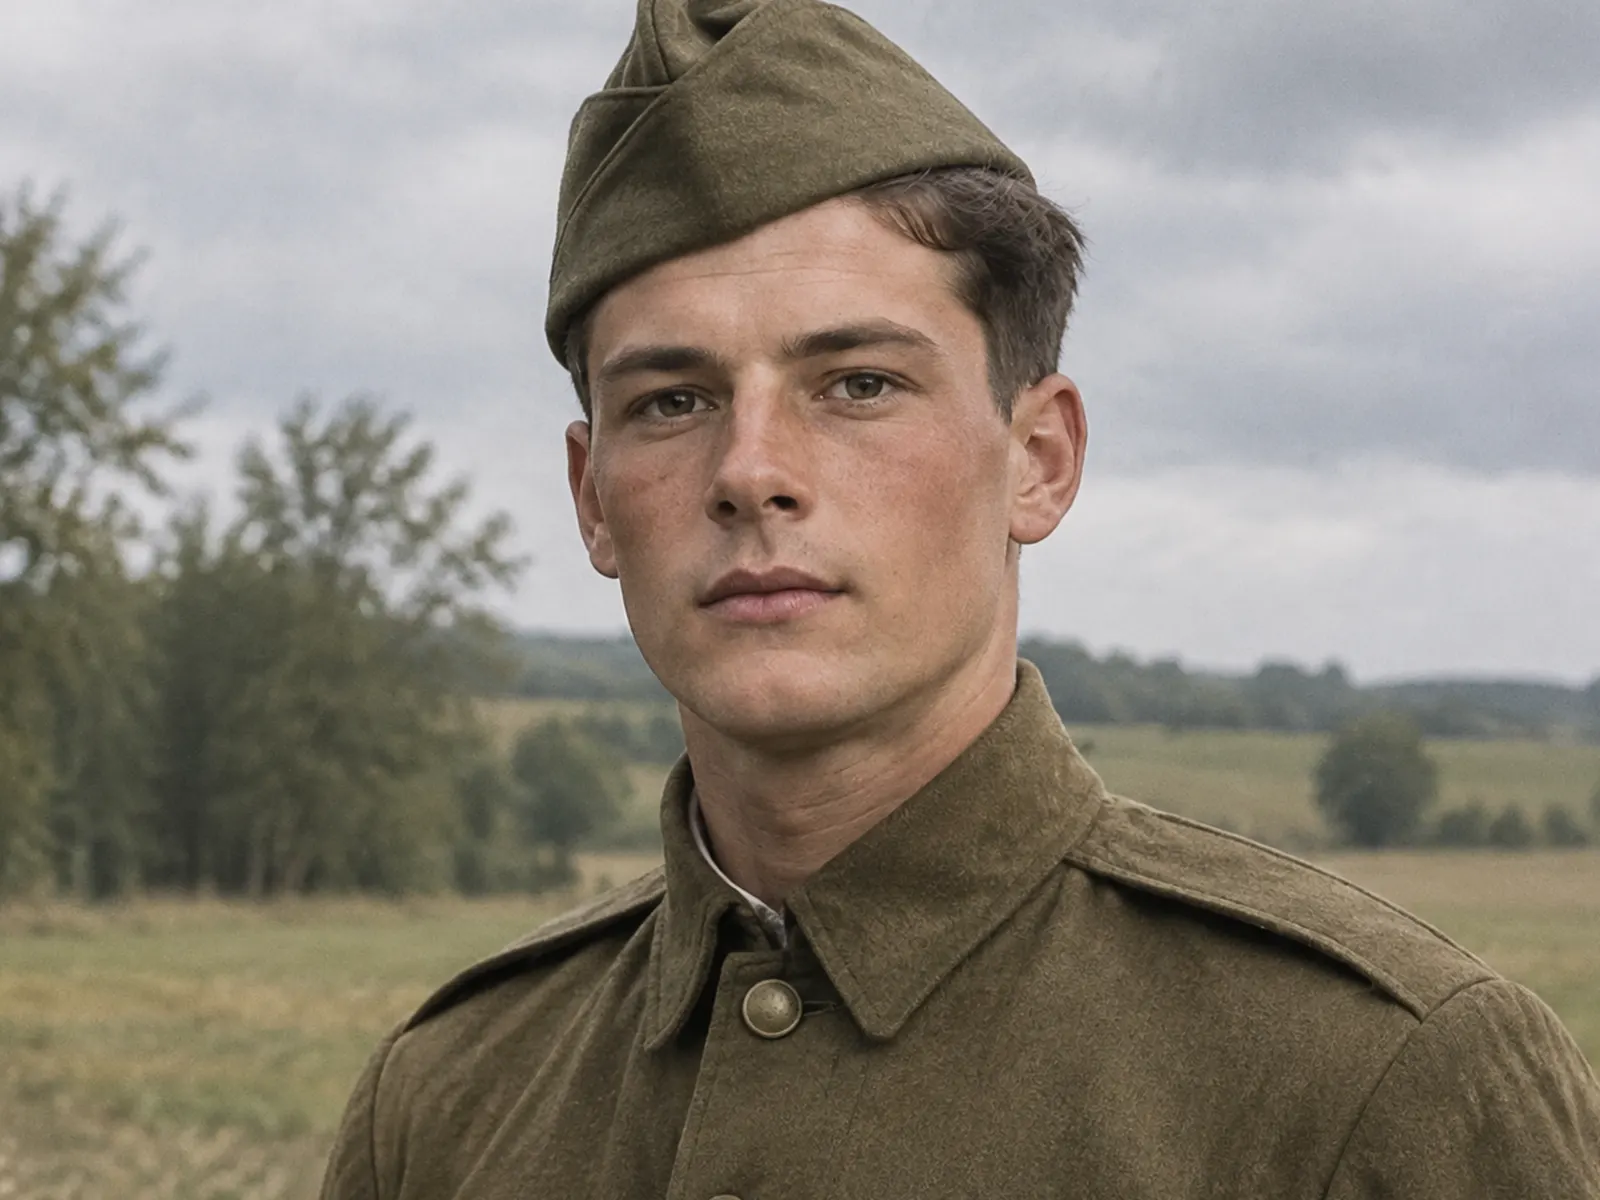
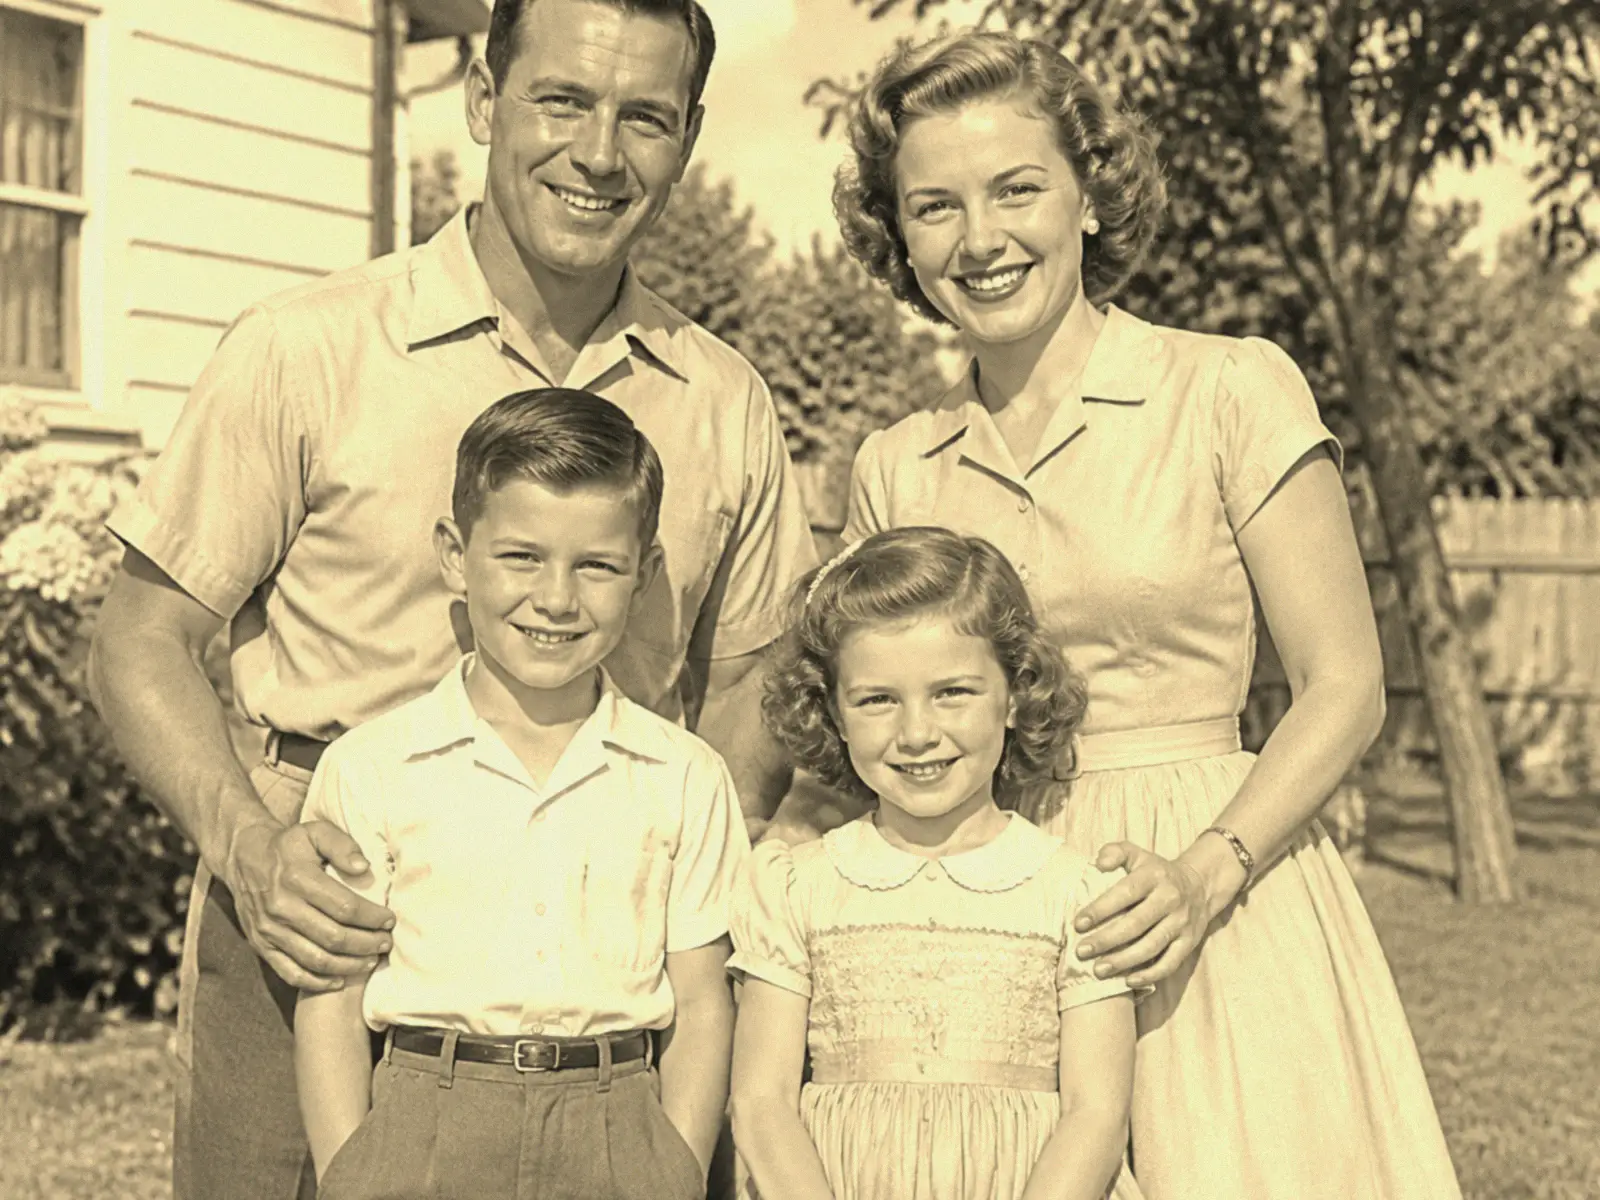
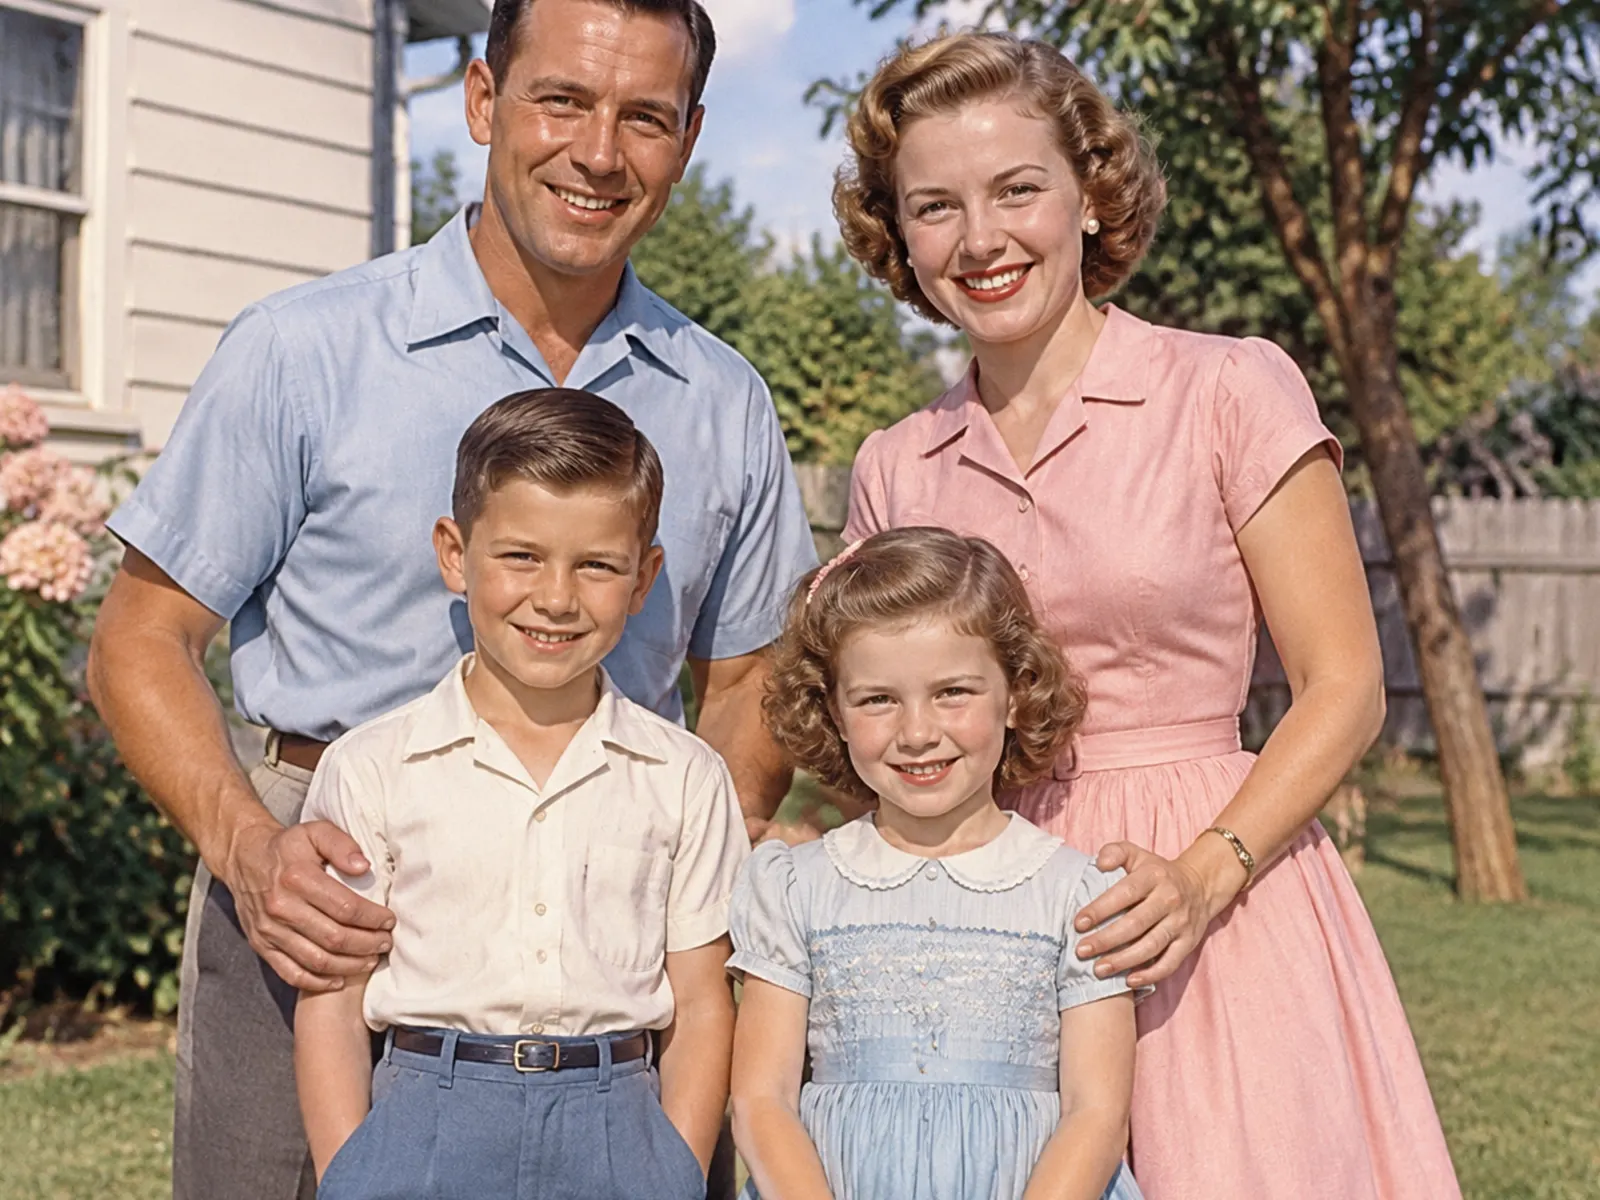
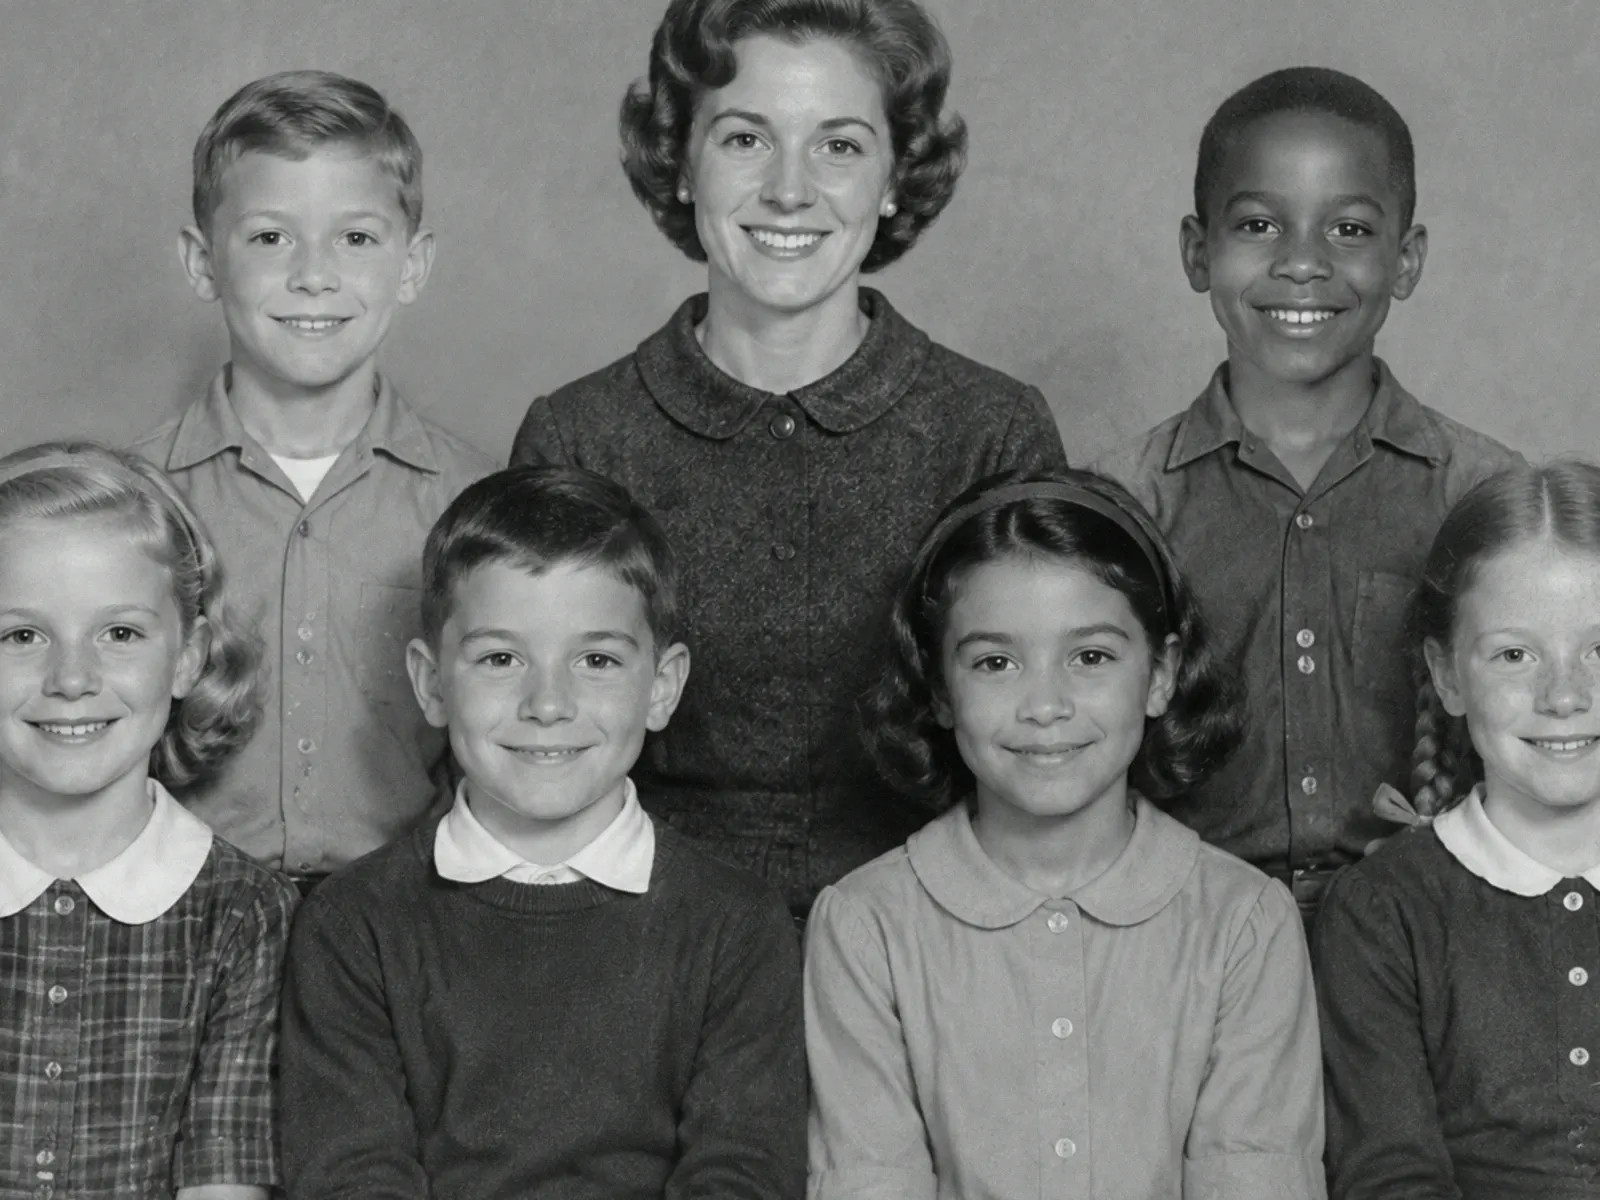
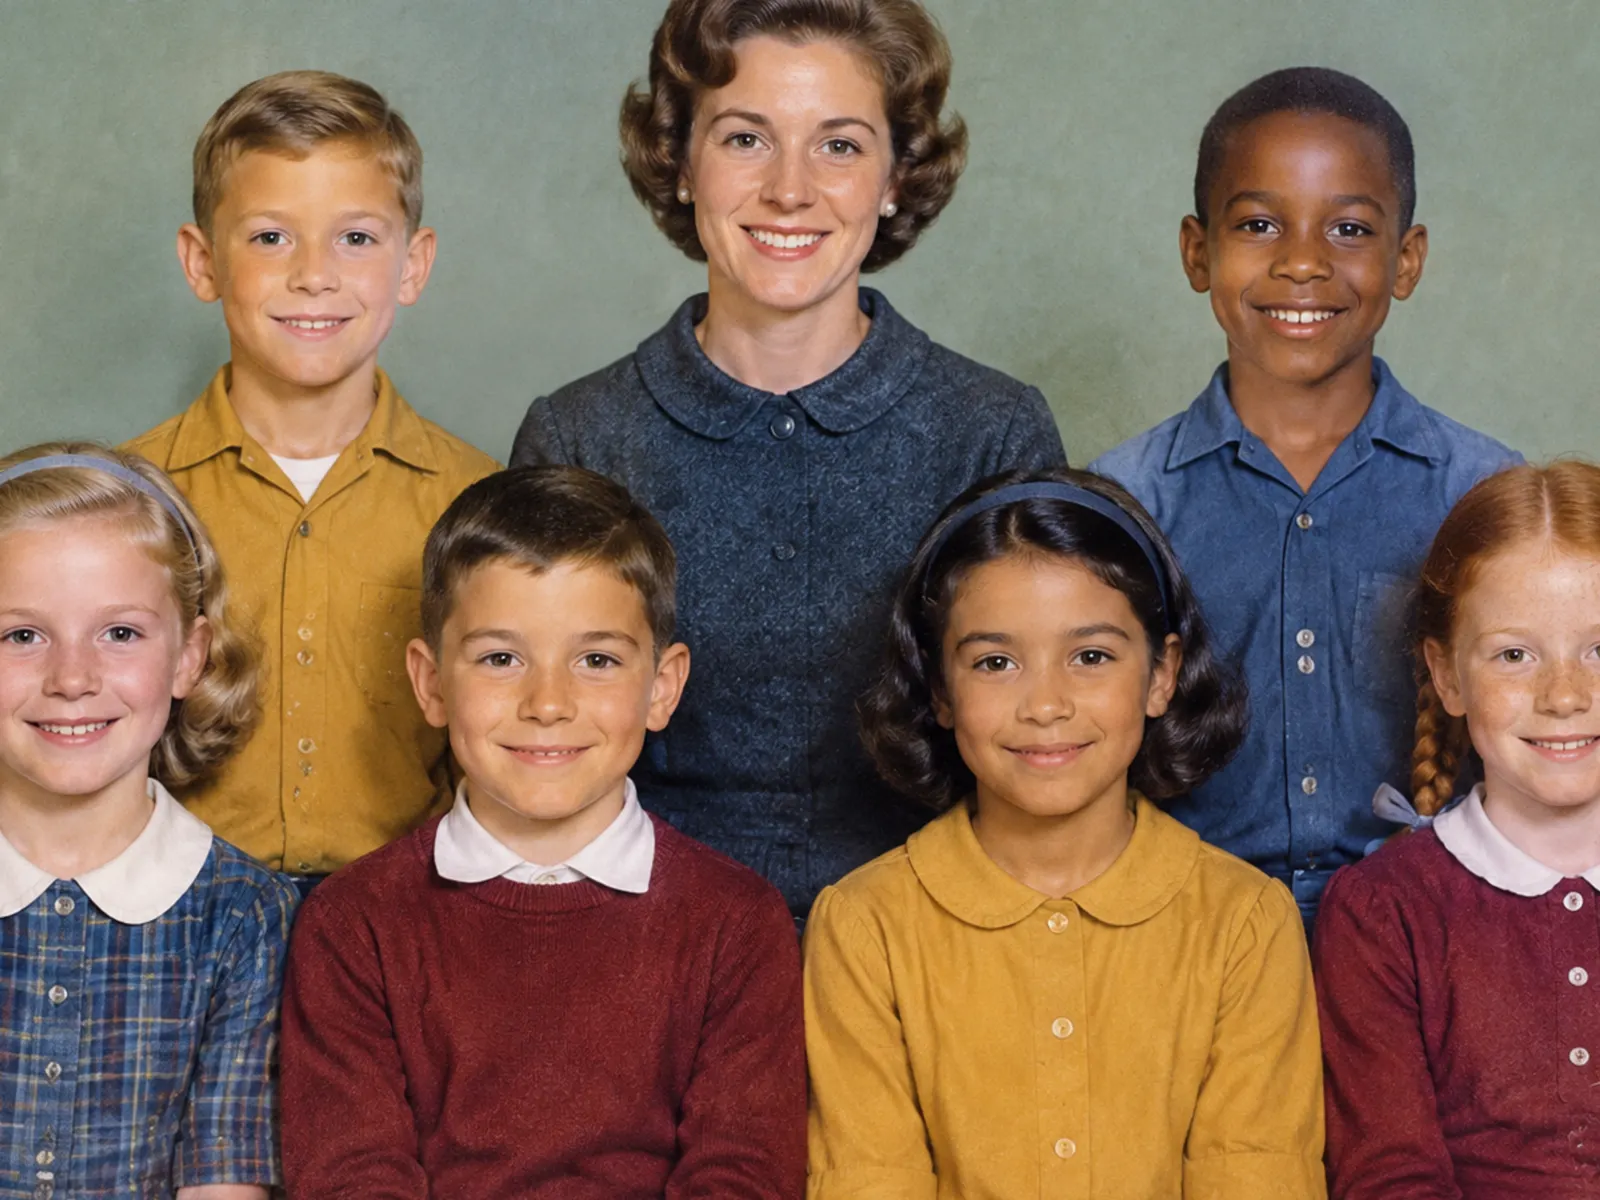
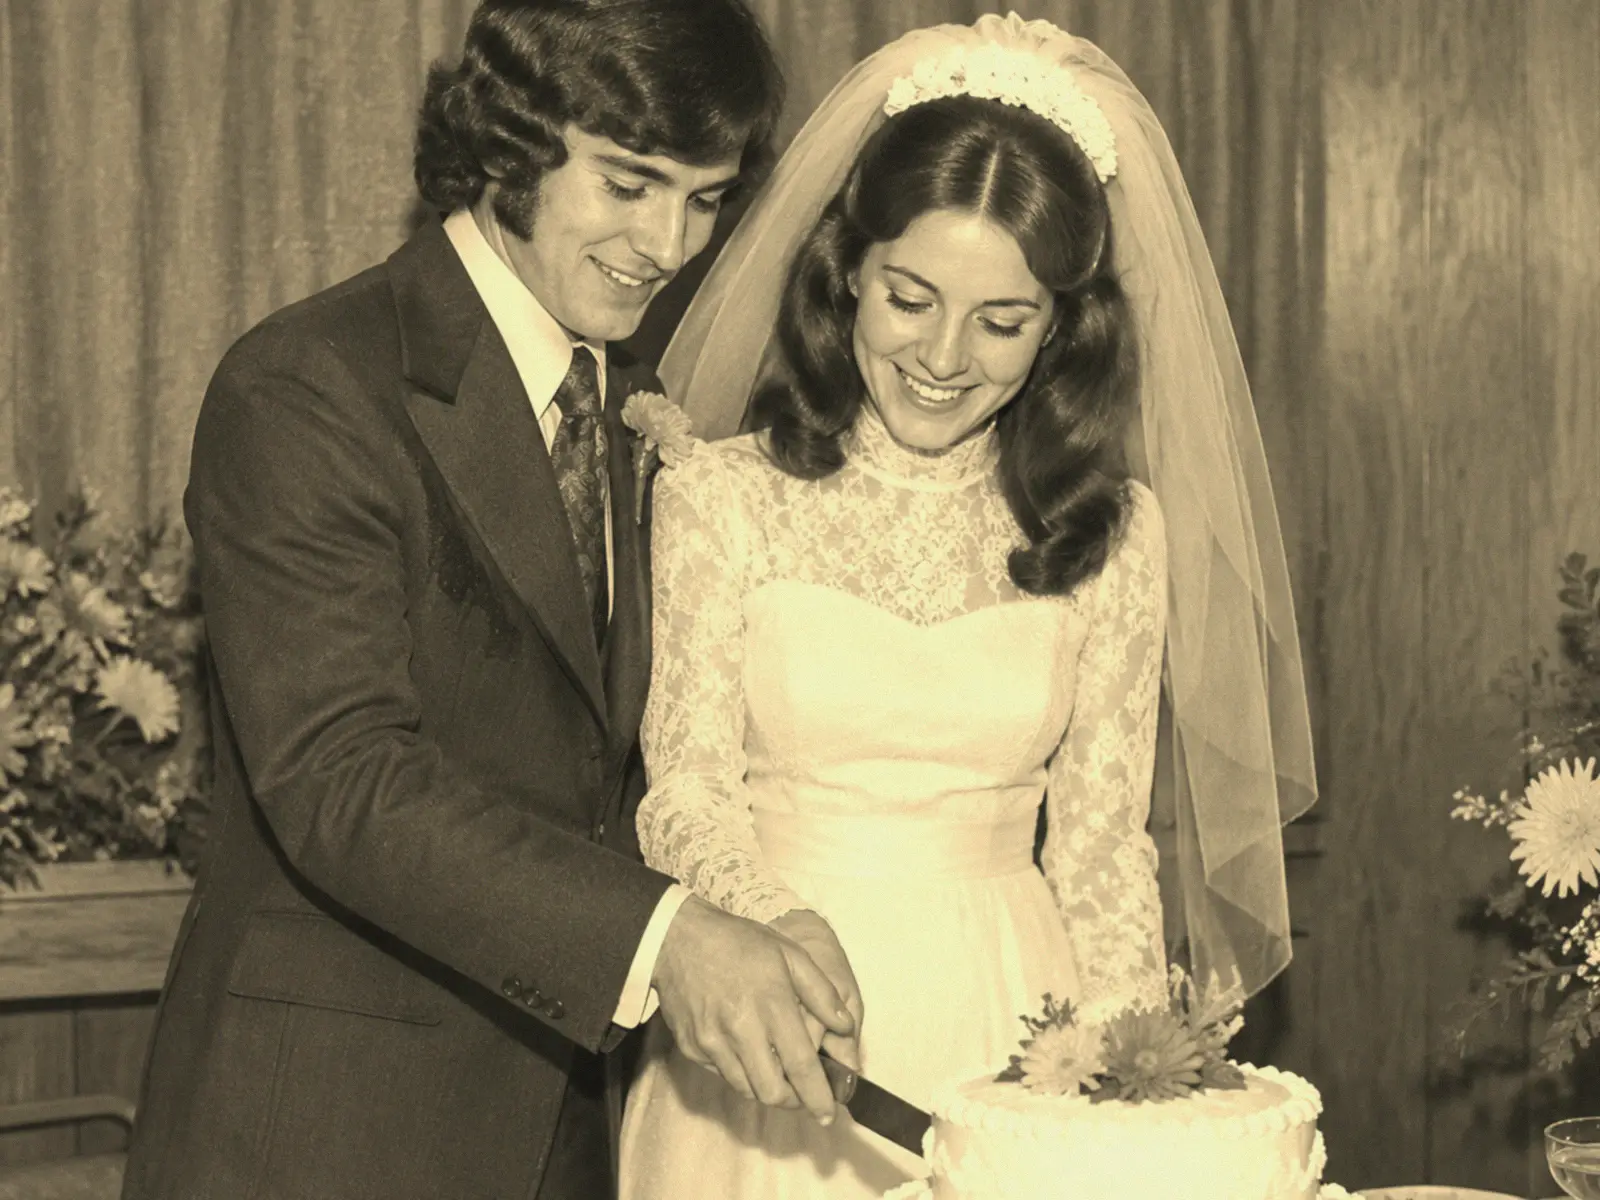
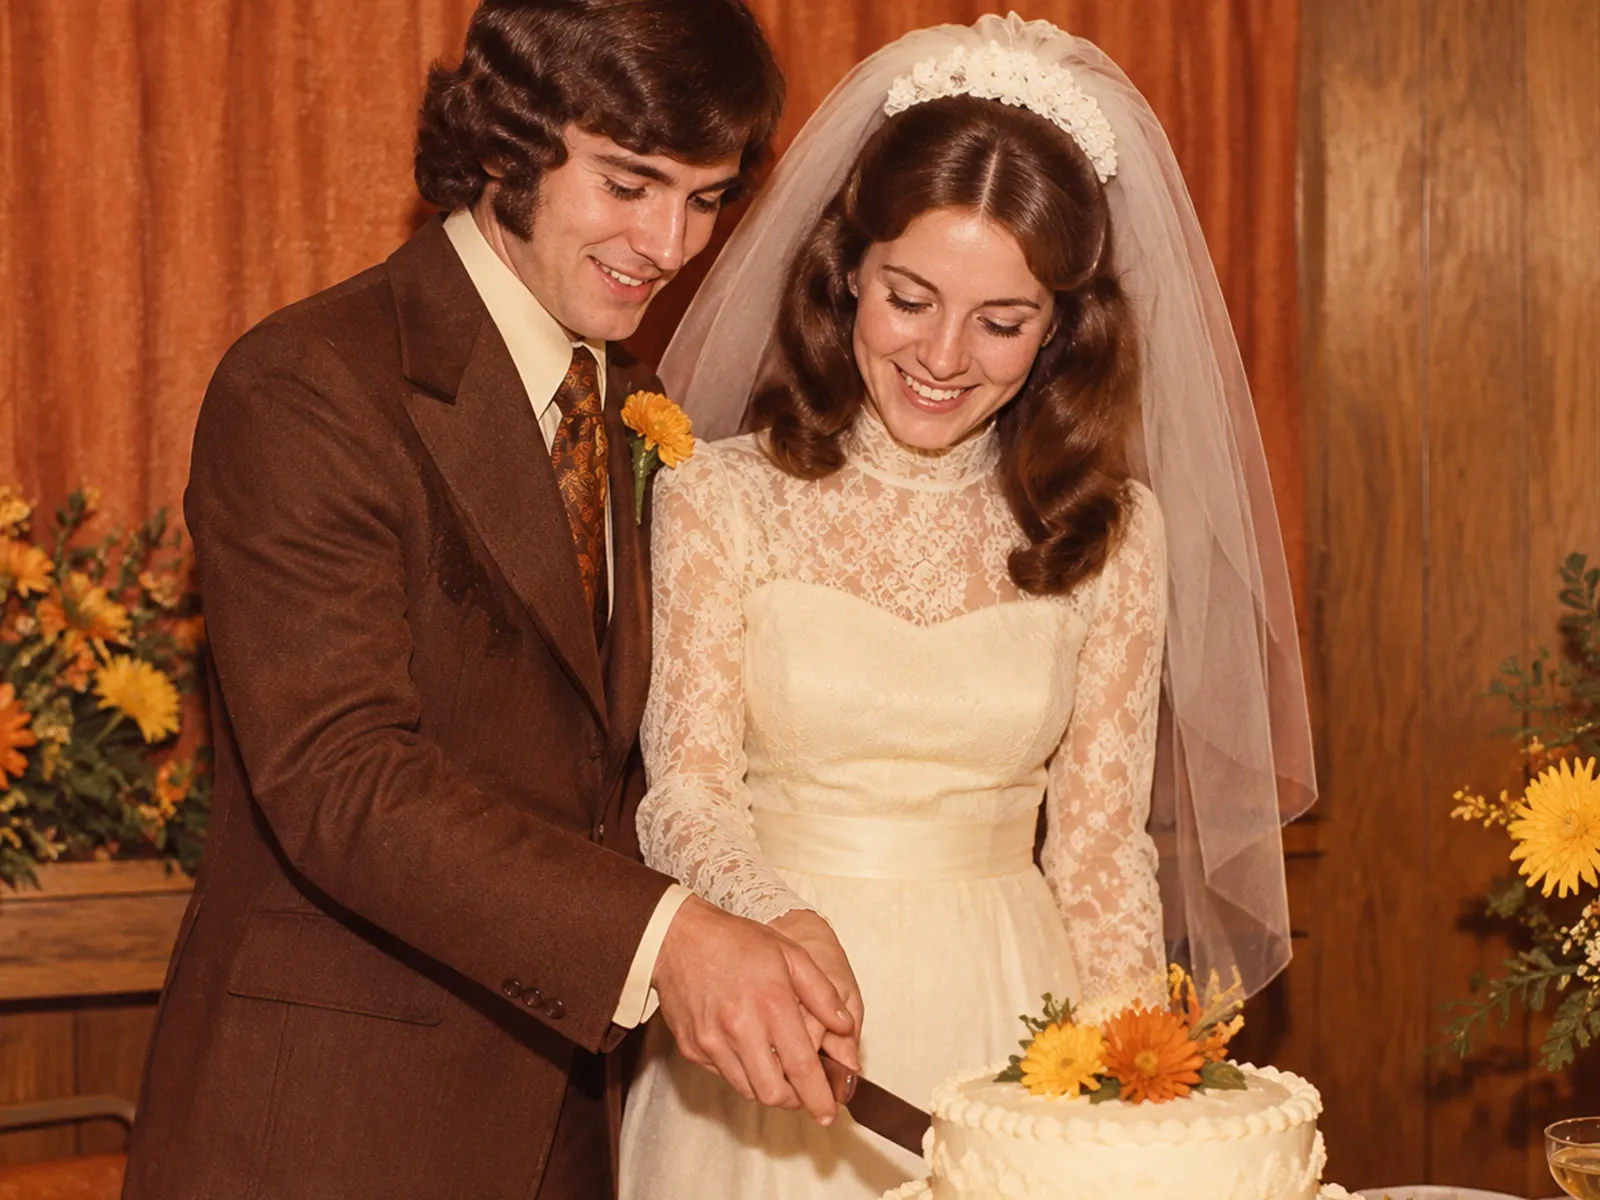
Illustrative examples of the kind of result the model produces. Drag the handle to compare.
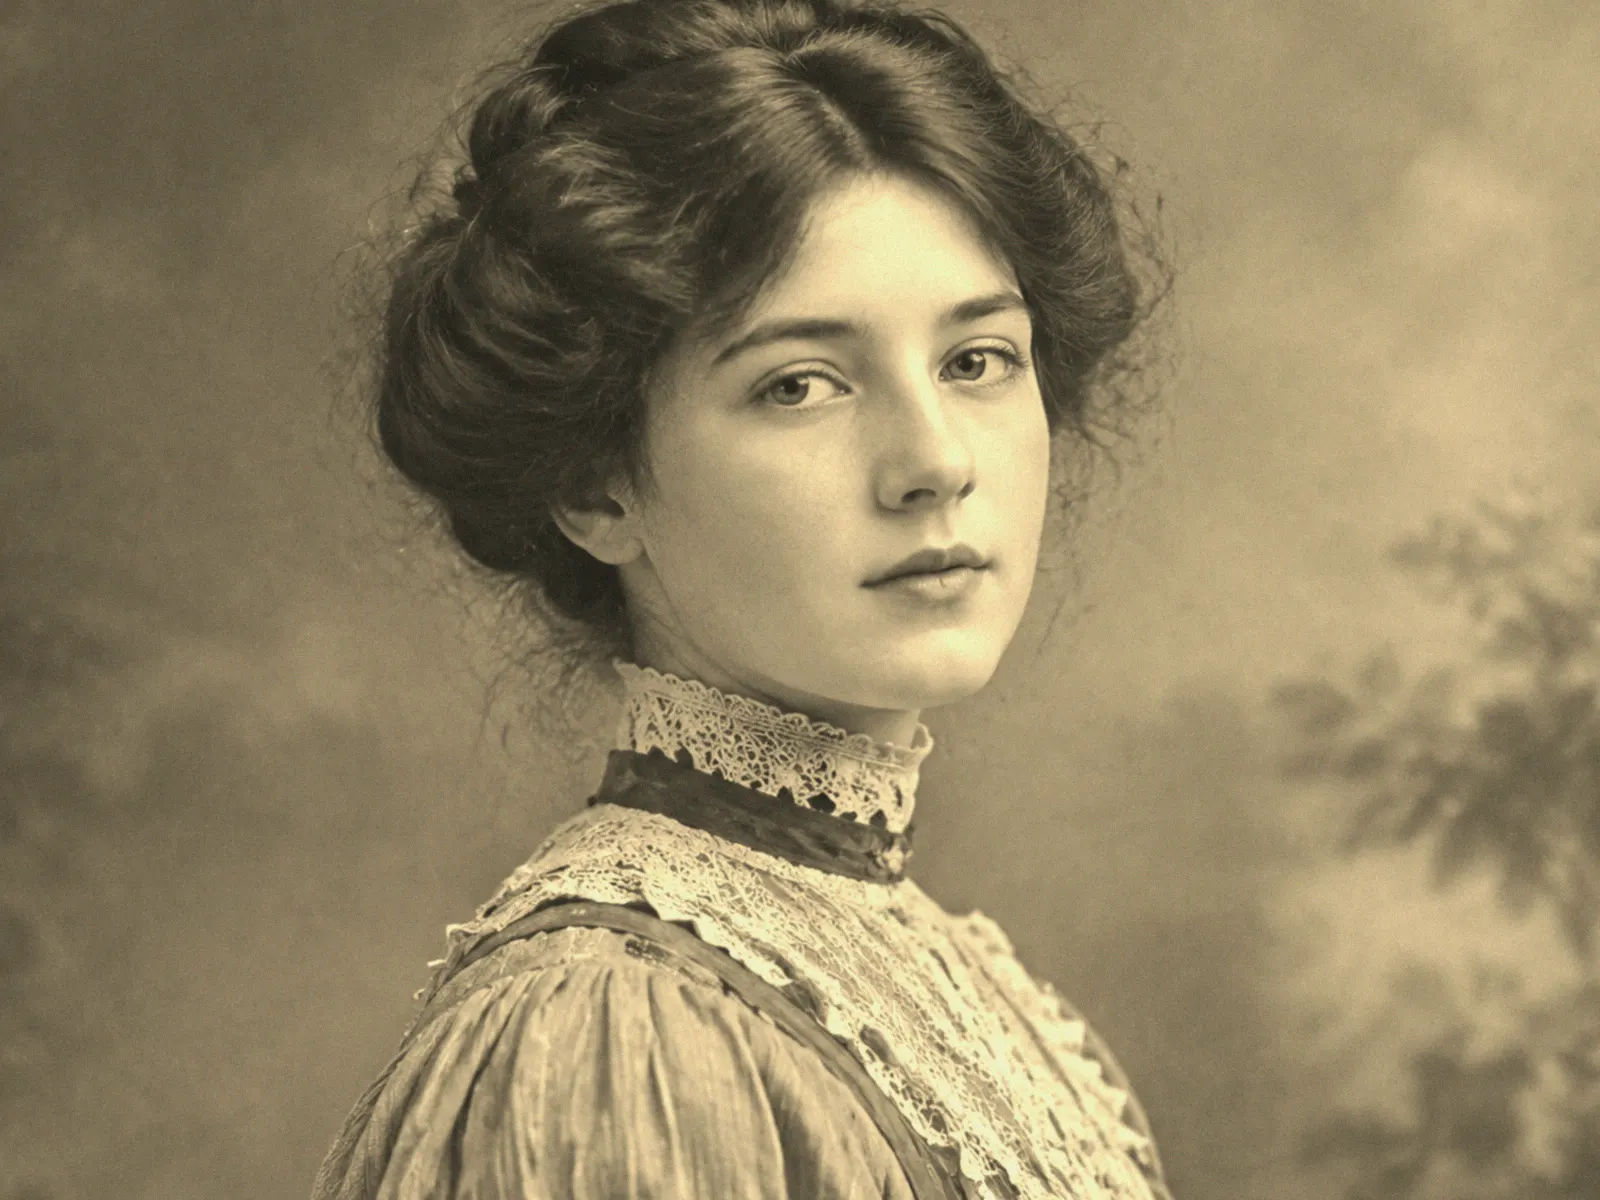
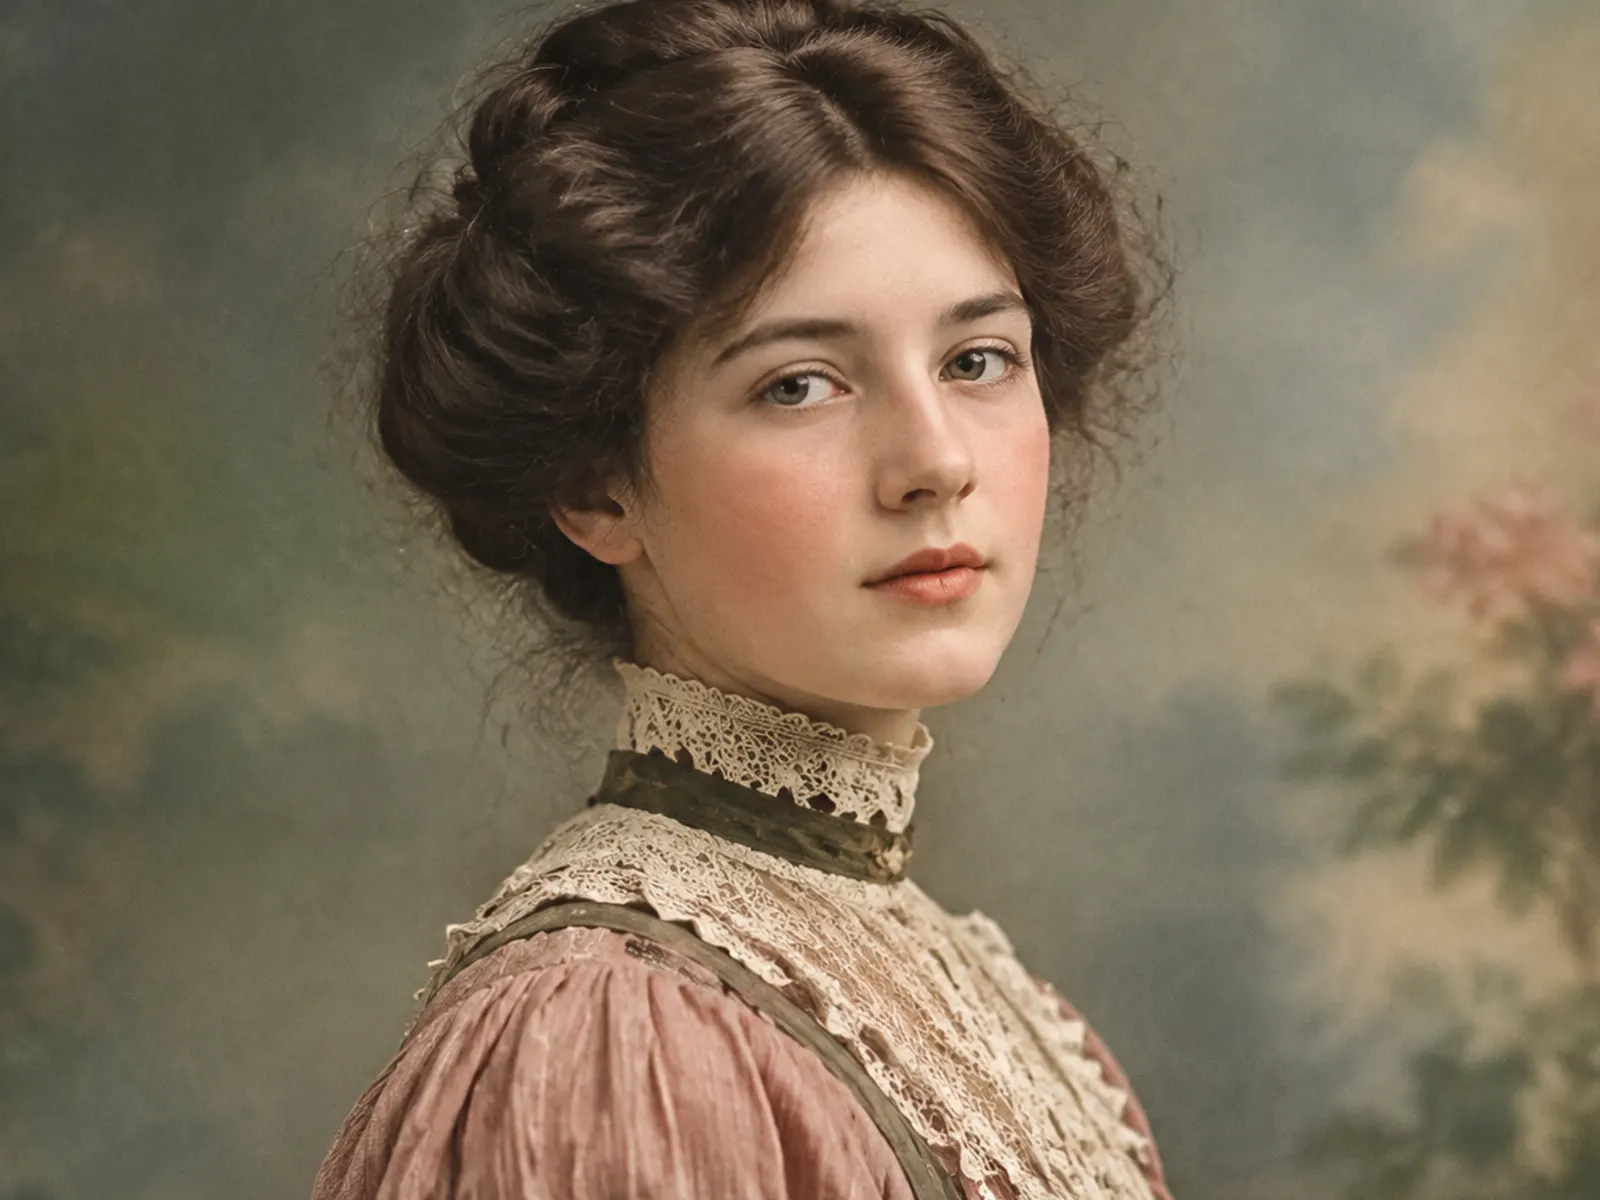 BeforeAfter
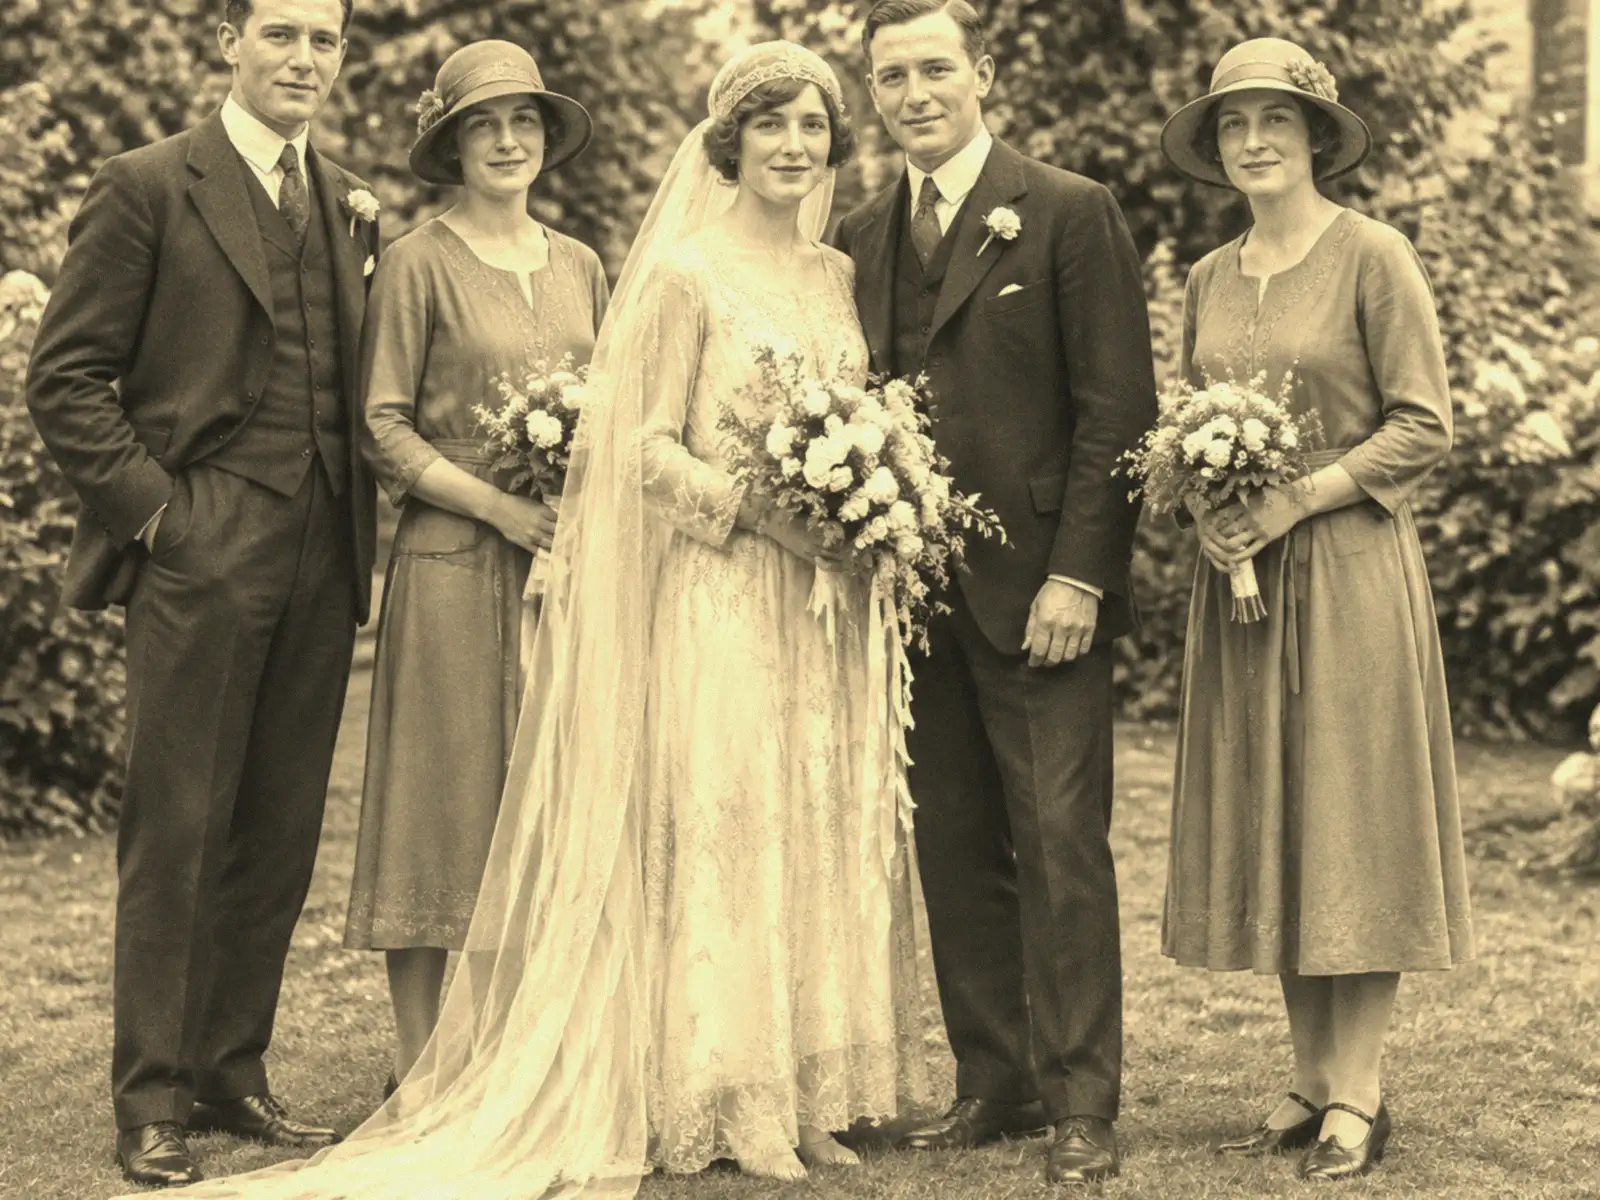
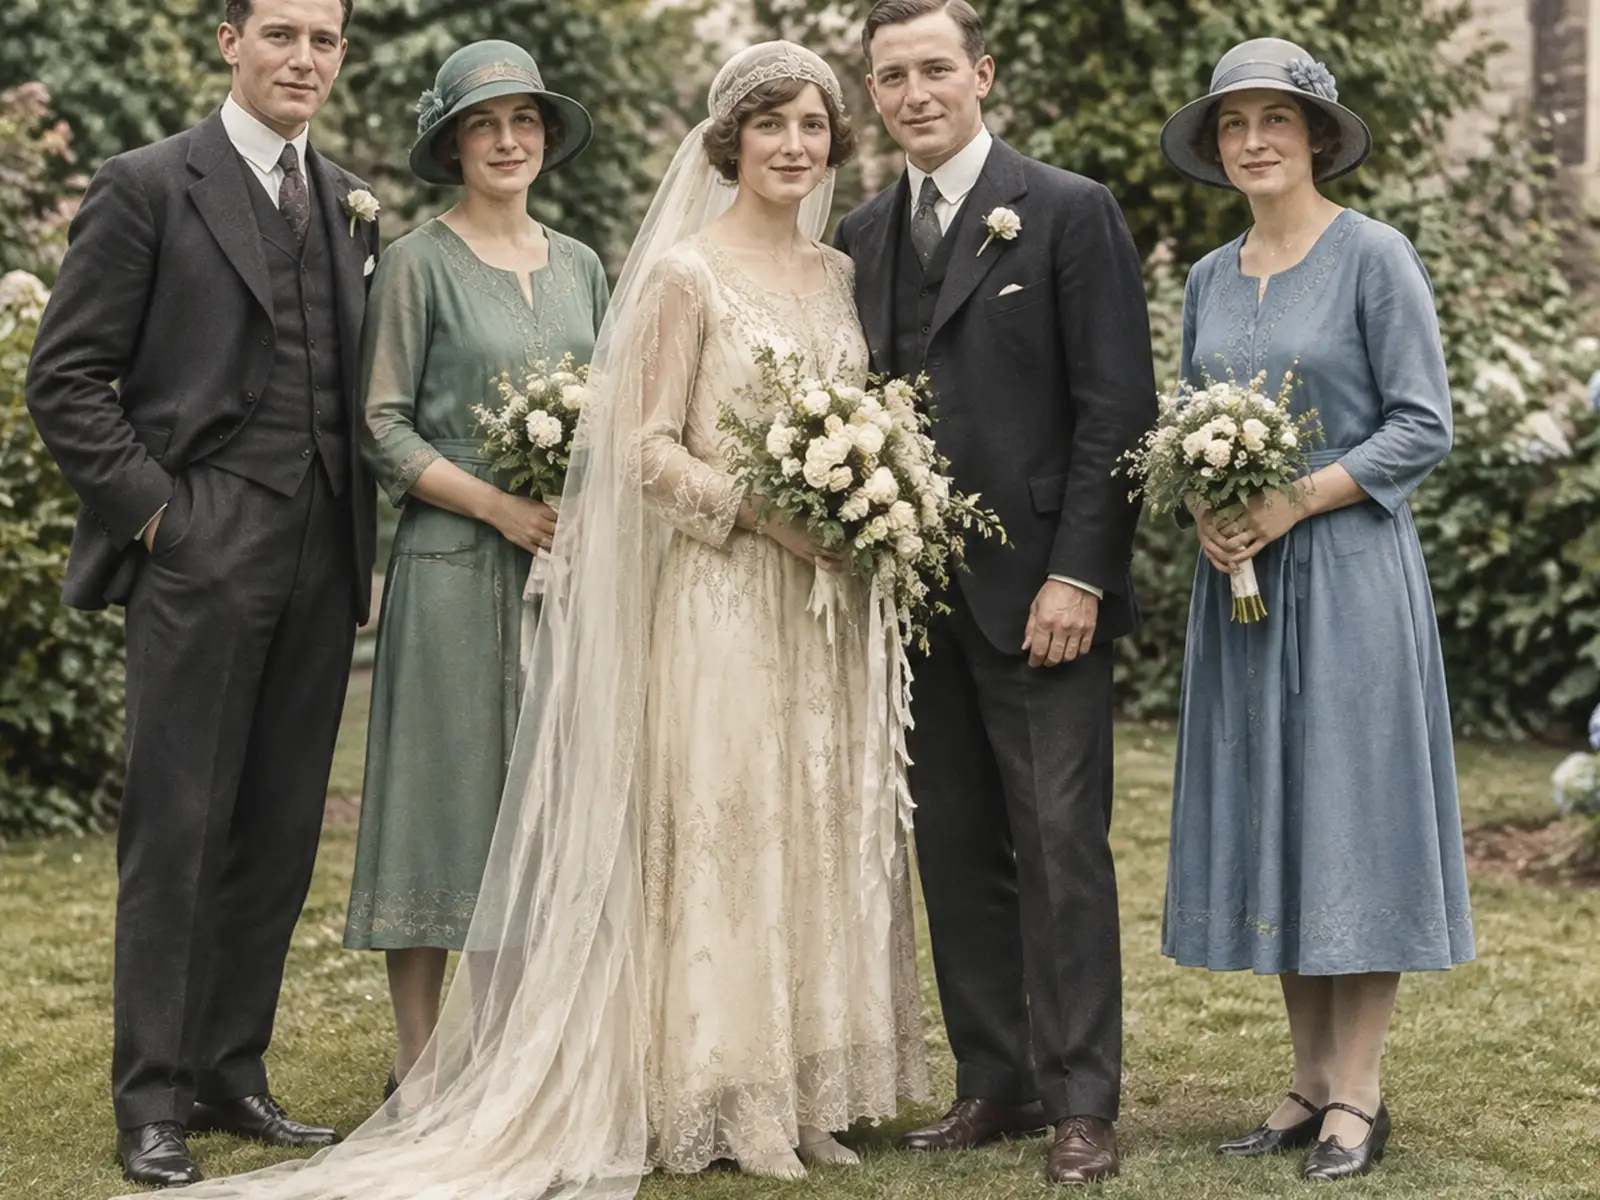 BeforeAfter
 BeforeAfter
 BeforeAfter
 BeforeAfter
 BeforeAfter
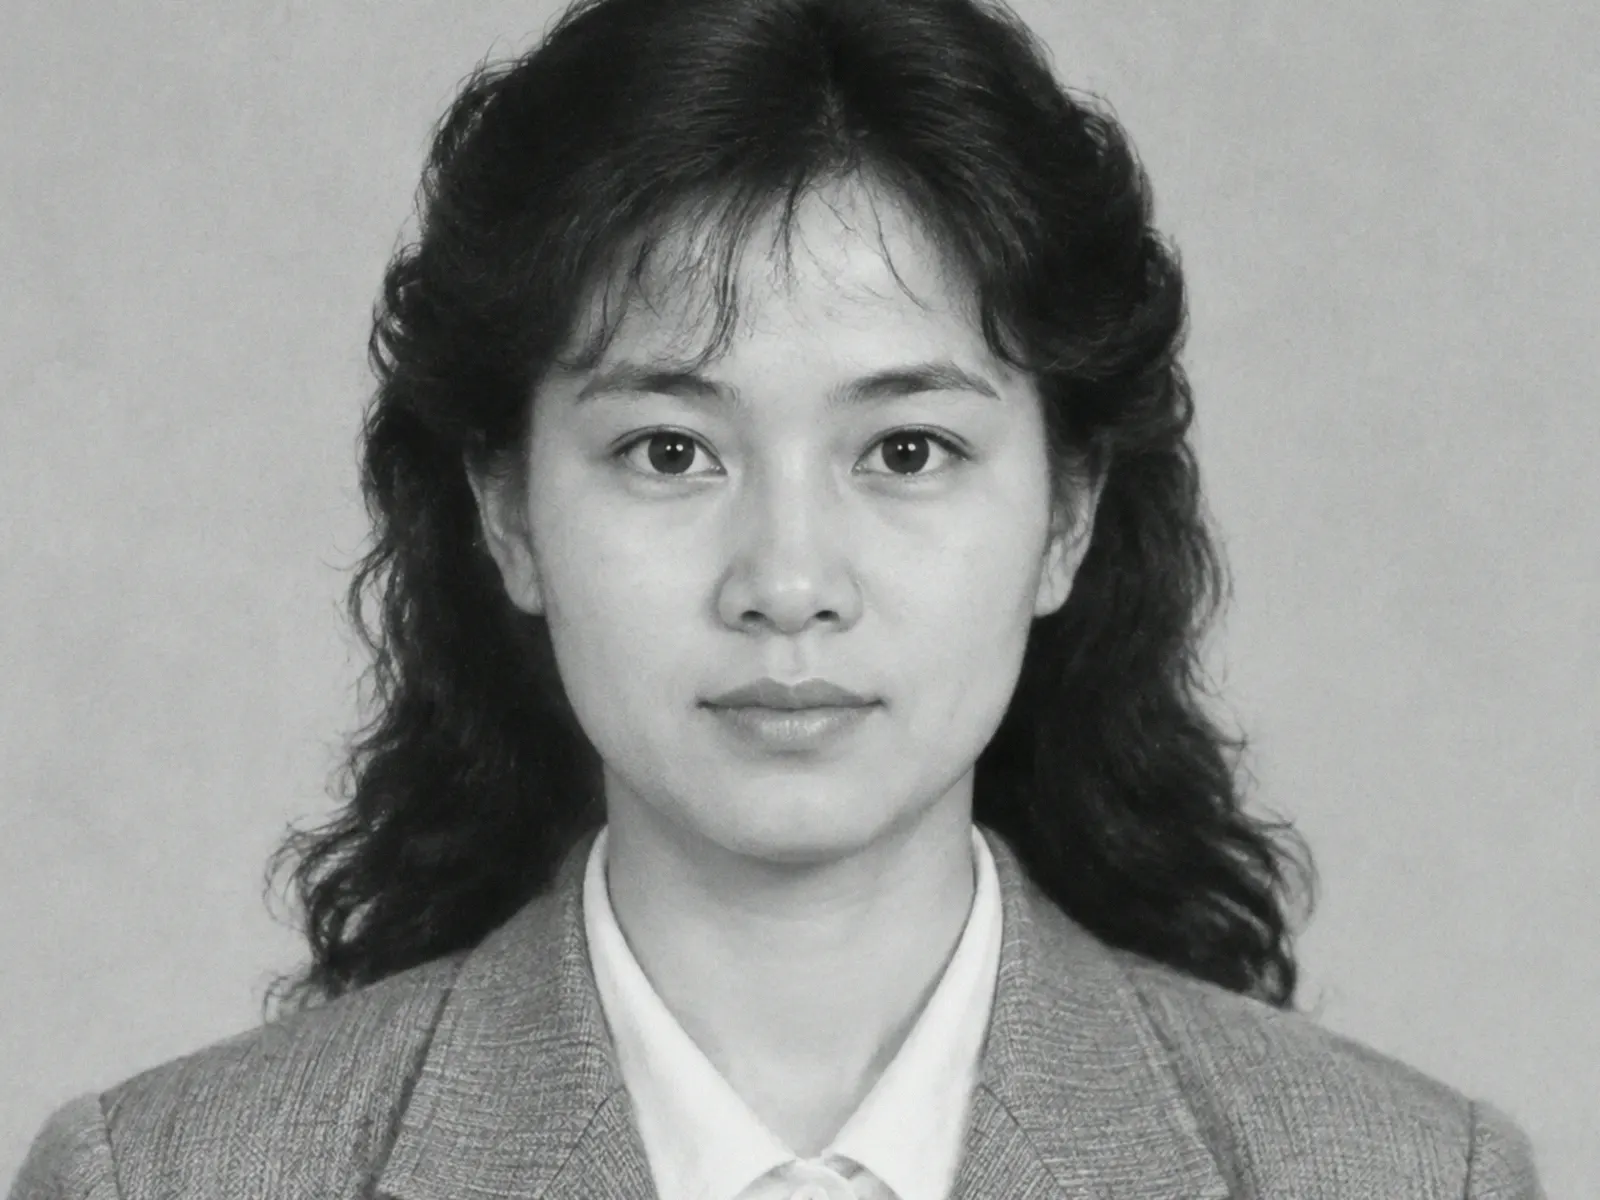
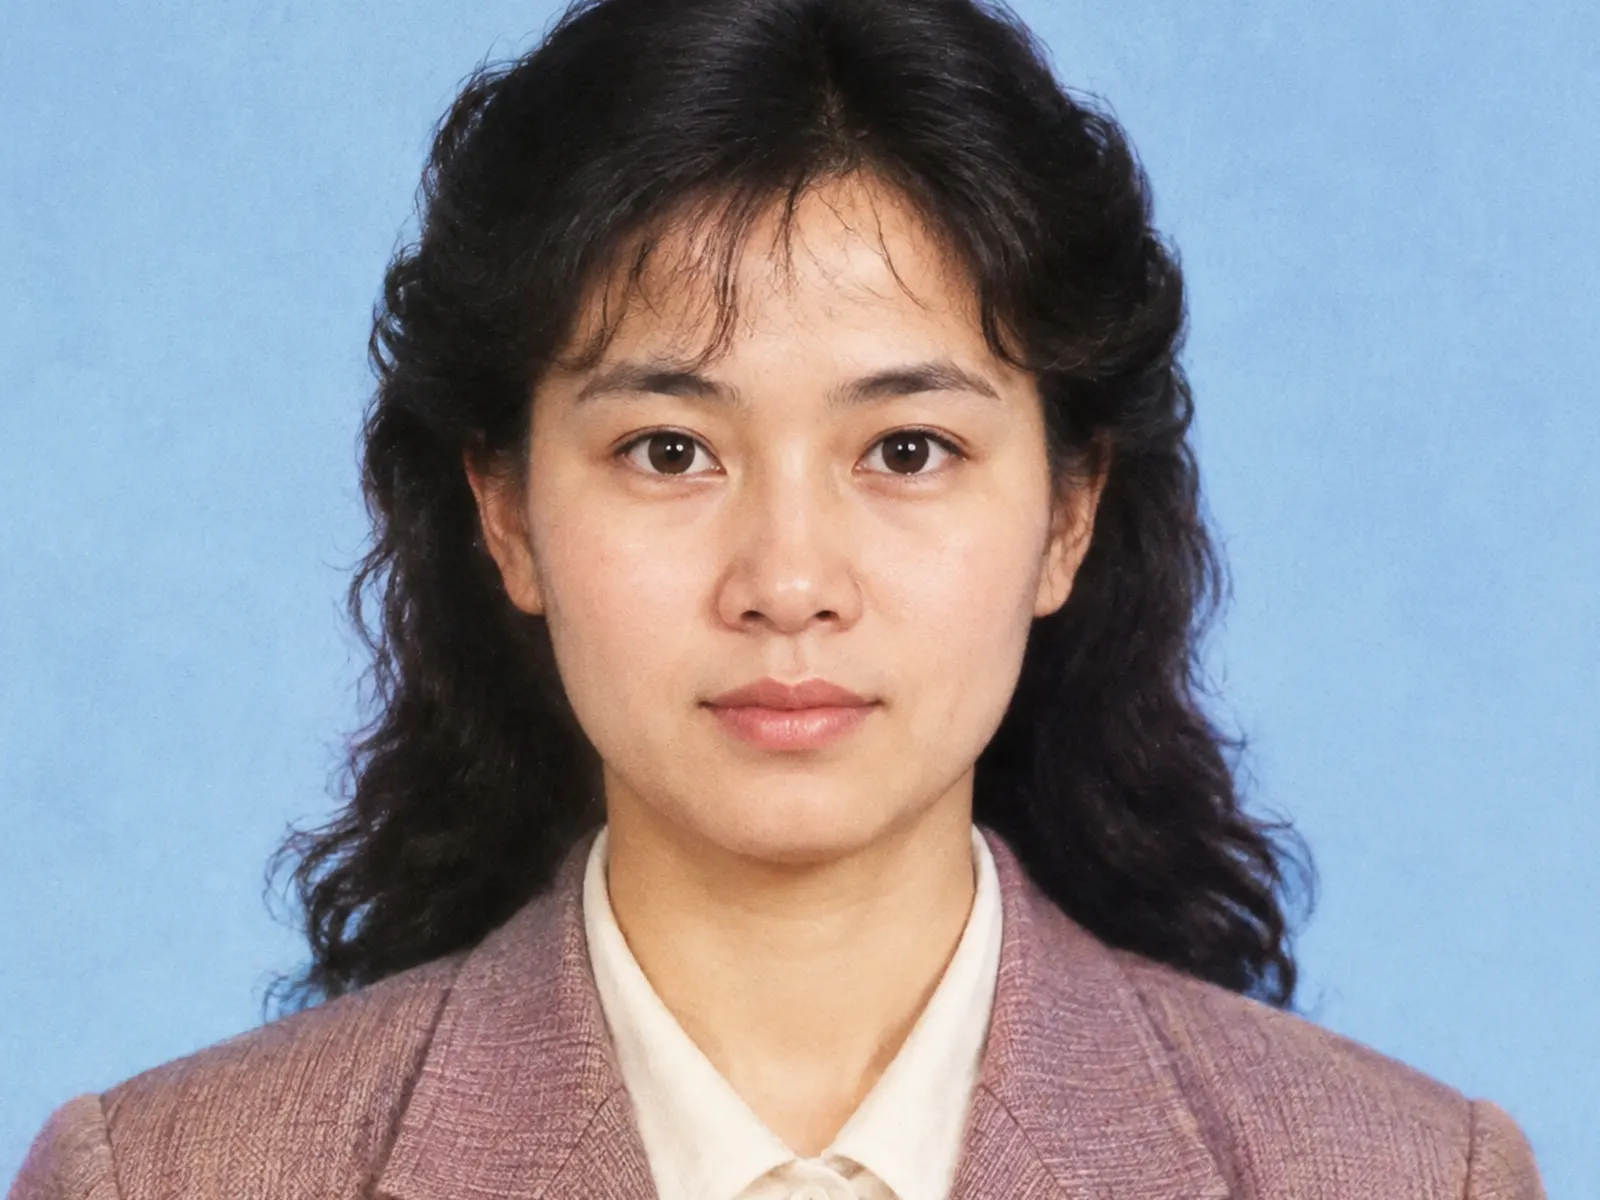 BeforeAfter
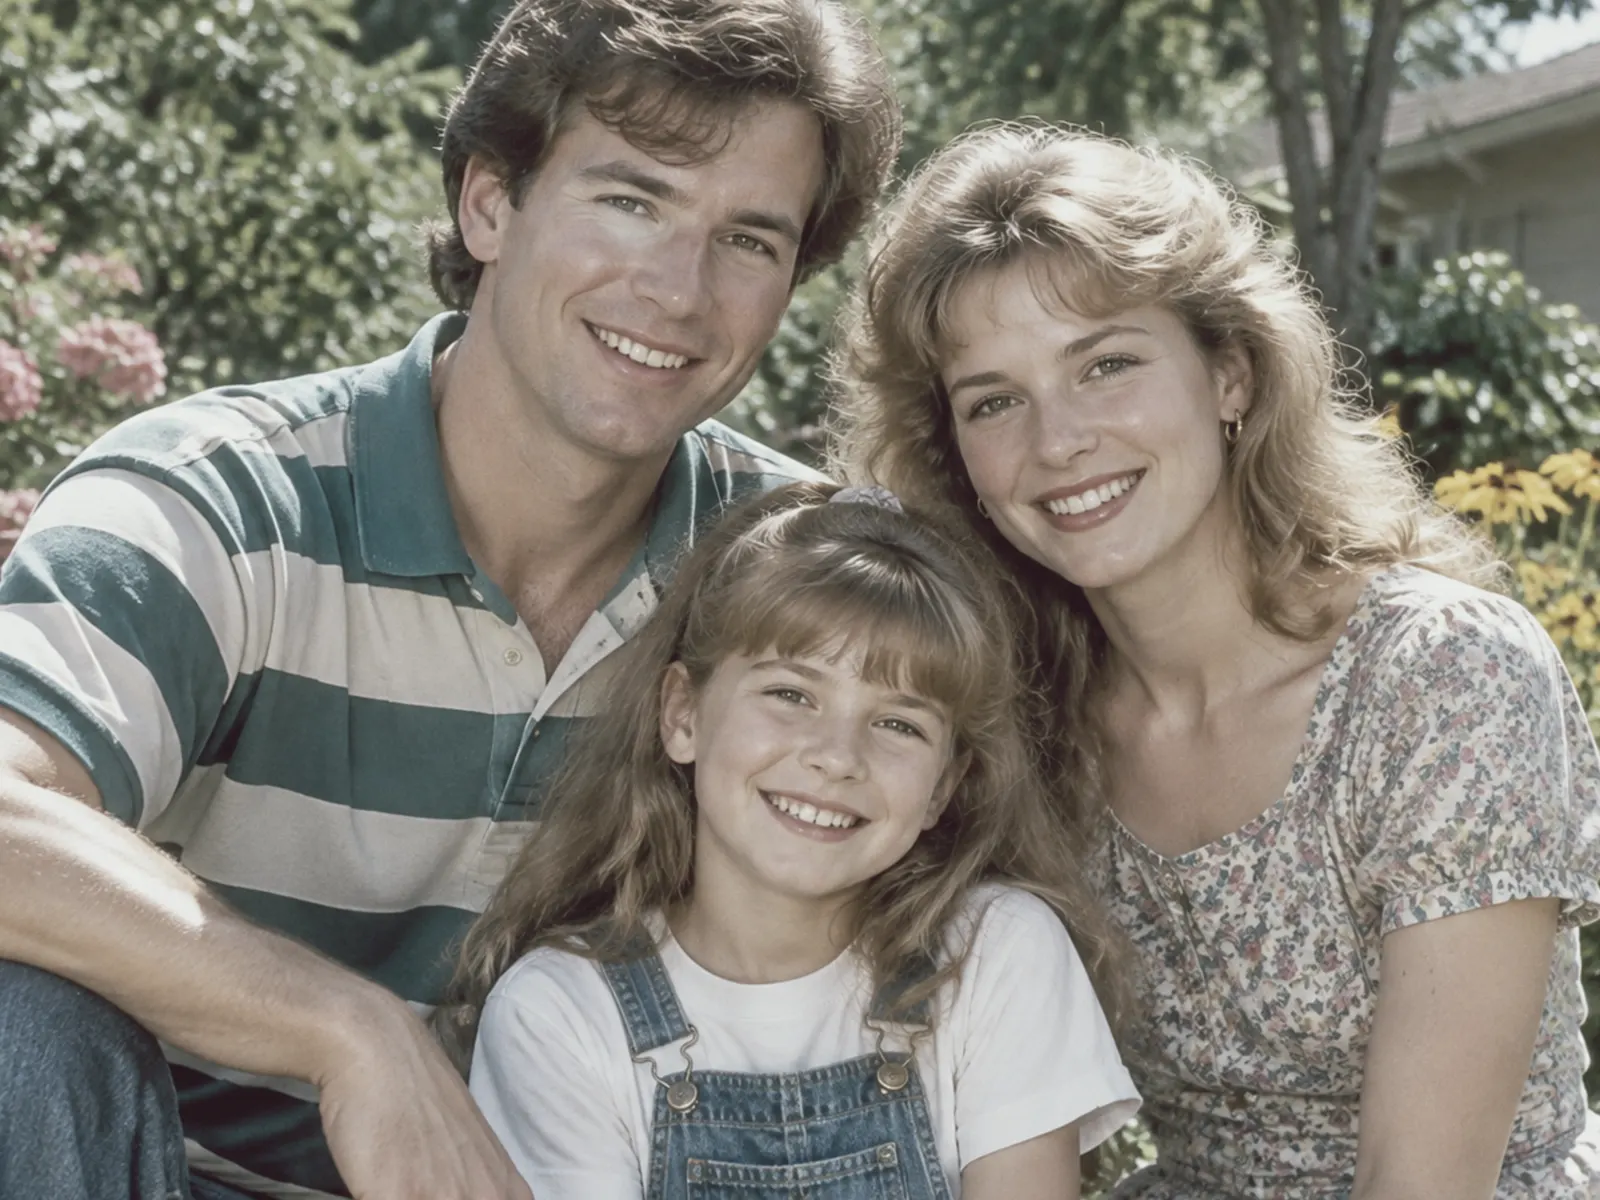
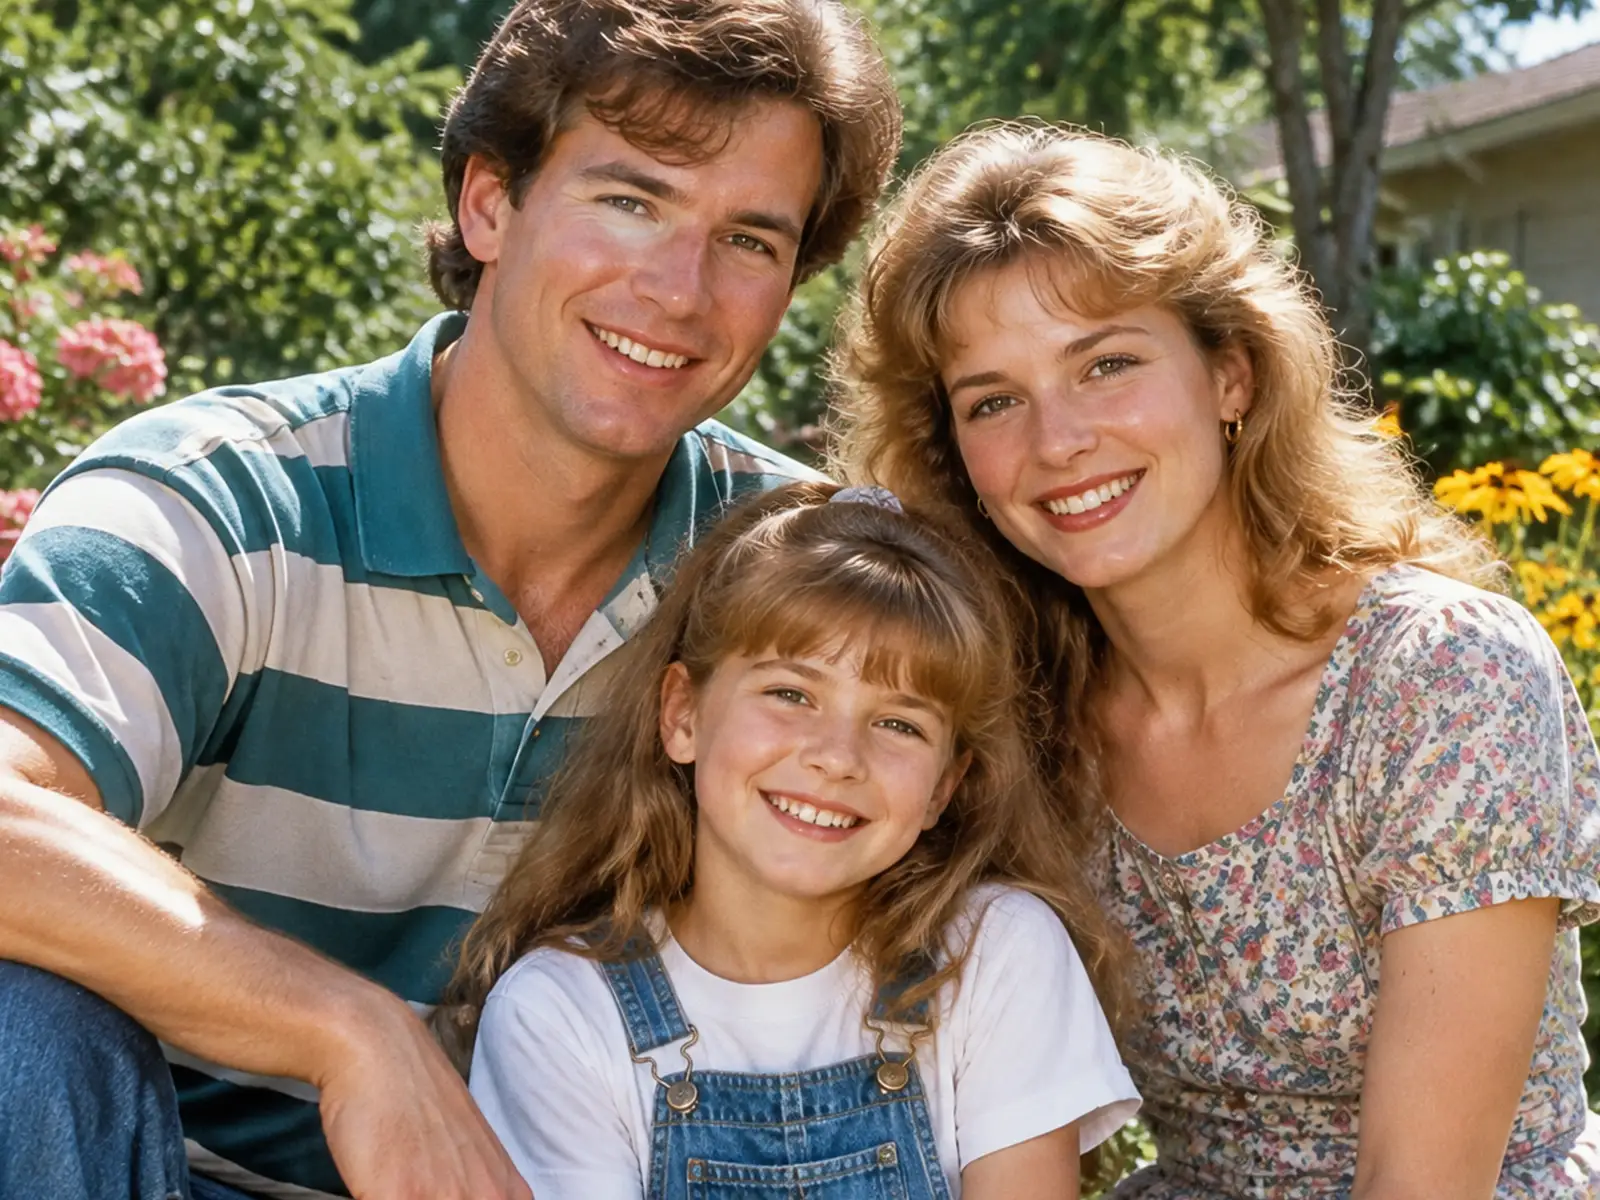 BeforeAfter
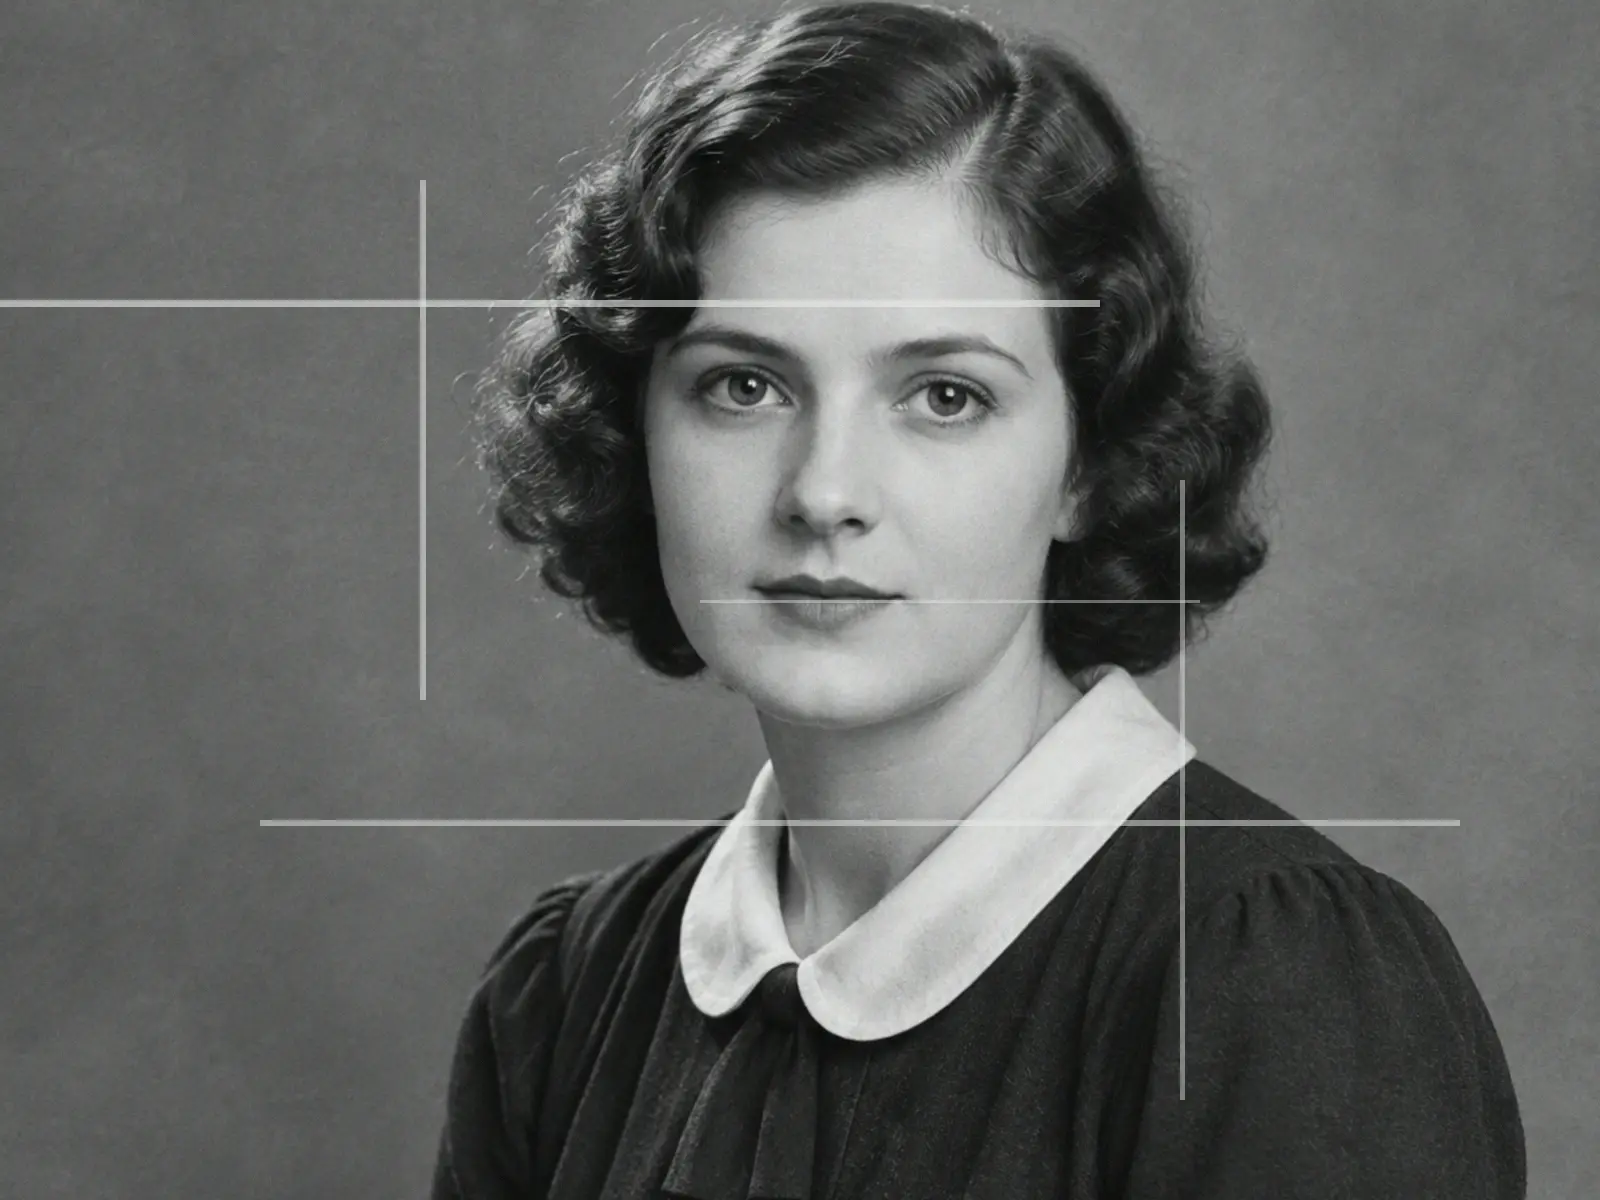
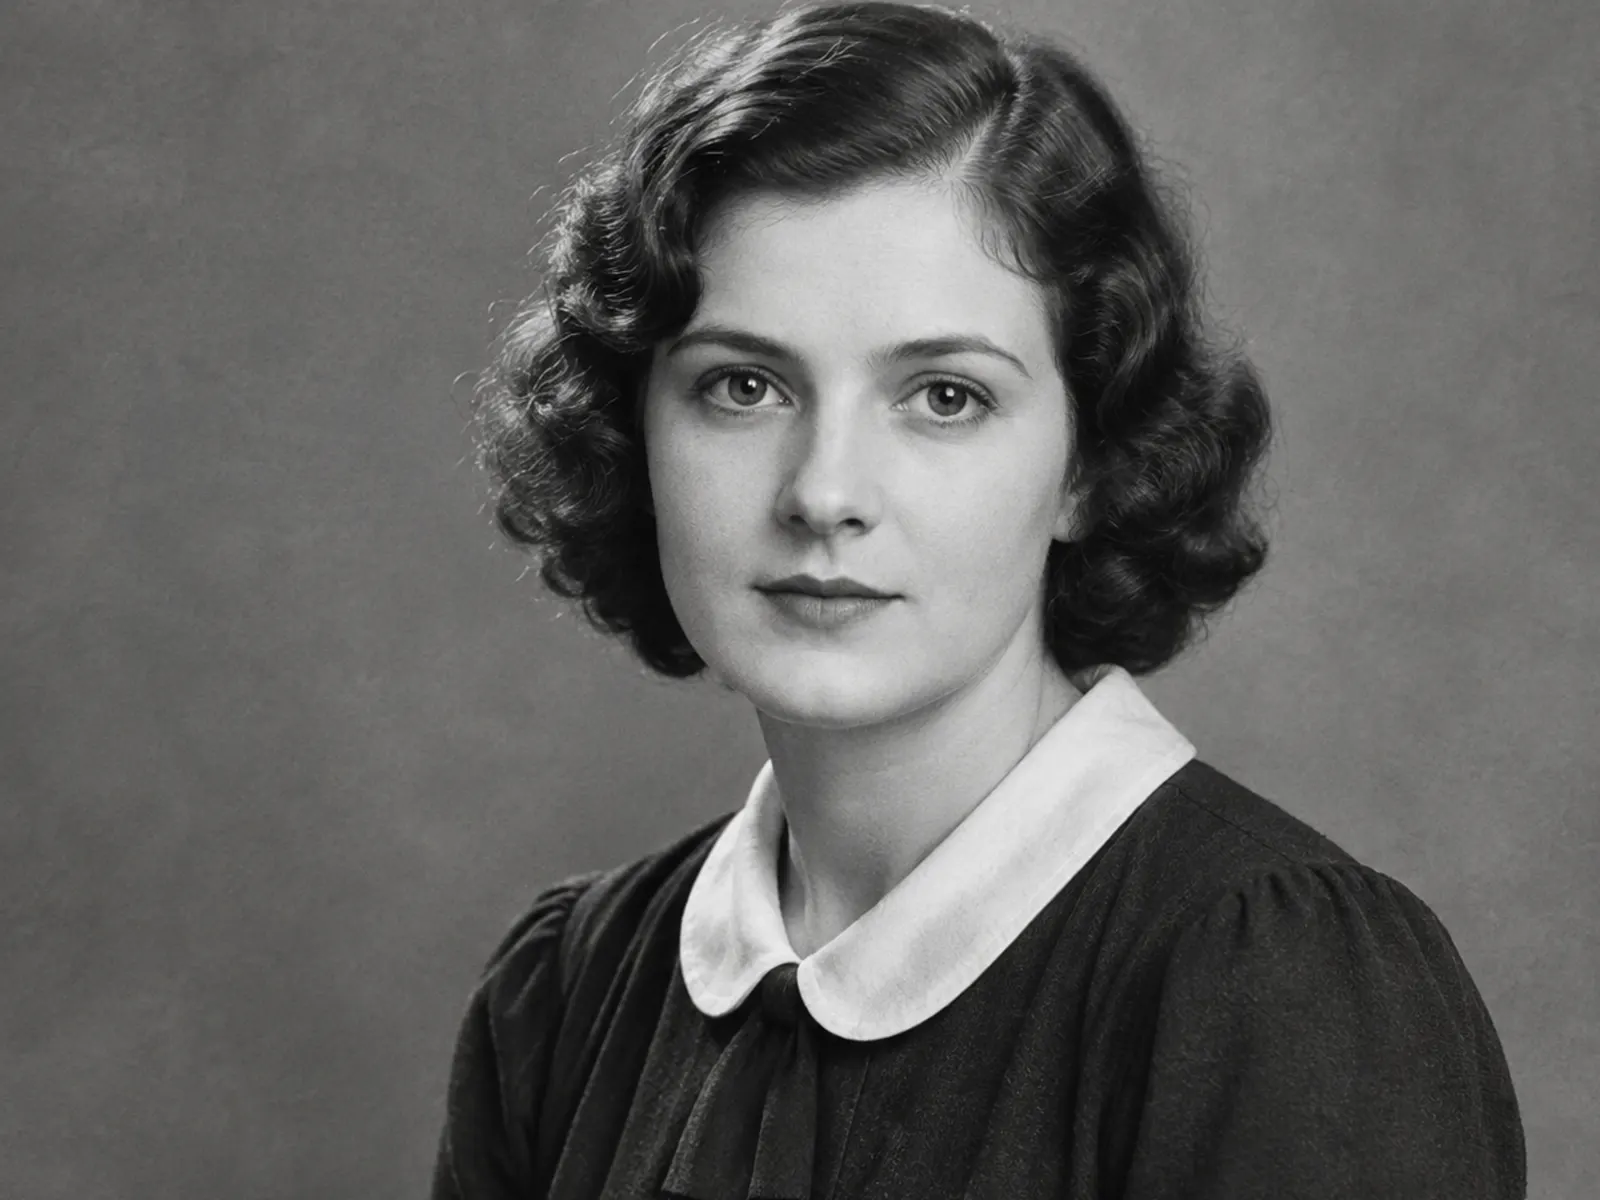 BeforeAfter
How does the colorizer choose colors?
Automatic colorization is not a single global filter. Different parts of the frame are estimated separately, then reconciled.
Skin is estimated in regions
A face is not one flat tone. Forehead, cheeks, nose, chin and the shadow under the jaw are estimated separately and blended. That is why faces do not come out looking like plastic, and why freckles and slight redness survive instead of being averaged away.
Clothing and period
Colour is partly a historical question. The model is trained on dated archival photographs, so it leans toward palettes that fit the era: olive and khaki uniforms, pastel 1950s dresses, warm browns and oranges for 1970s interiors. It is a strong prior, not a guarantee — verify anything documented.
Sky, foliage and indoor light
Backgrounds are coloured from brightness gradients and texture rather than a fixed palette. Overcast skies stay grey-blue, tungsten interiors stay warm, and grass does not turn neon.
You can steer the result
Focus controls what the model prioritizes (people, scenery or the whole frame); tone controls how saturated and vintage the palette is. Re-running with a different combination is the practical way to correct a result you do not like.
Colorize Black and White Photos of Every Kind
The model behaves differently on faces, snapshots, weddings and archival material.
Portraits and family faces
Frontal faces colorize best. Keep hands away from the chin and avoid heavy shadows across one side of the face.
Family snapshots and albums
Snapshots from the same roll and decade tend to receive similar palettes, but consistency is not guaranteed. Review each photo before printing an album as a set.
Wedding photographs
Bridal white, bouquet flowers and skin are estimated in separate passes so the dress does not pick up a pink cast from the faces.
Historical and archival photos
Uniforms, signage and buildings are where automatic colour is least reliable. Treat the result as a starting point and use the tone controls when you have a documented reference.
Can you colorize faded or damaged photos?
A faded colour print is a different problem from a black-and-white scan. A 1980s print that lost its magenta layer still contains hue information, so the job is to restore saturation and correct the cast rather than invent colours from scratch. Pure black-and-white and sepia scans go through full colorization instead.
AI Colorization vs Manual Colorization
Both can produce a good result. They differ in cost, speed and how they handle historical specifics.
| AI colorizer (this tool) | Manual / studio service | |
|---|---|---|
| Time per photo | Seconds | 20 minutes to 2 hours |
| Cost | 10 welcome credits, then plans from $9.99 | $5–$50 per photo |
| Historical accuracy | Strong on skin, clothing and sky; weaker on uniforms and signage | Researched case by case |
| Corrections | Re-run with a different focus or tone | Iterative, by email |
| Best for | Family albums, gifts, social posts | Publication, museum and genealogy research |
Tips for Better Results
- Scan at 300–600 dpi in colour mode, even for black-and-white originals — a colour scan keeps the paper grain, which helps the model.
- Repair damage first. Scratches read as edges and can pull colour into the wrong place.
- Keep faces frontal and unobstructed. A profile with a hand across the cheek is the most common failure case.
- Use natural tone for family photos and vintage for historical scenes; vivid works best for landscapes and posters.
- For an album, review each photo before printing. Automatic palettes can drift between photos from different rolls.
Frequently Asked Questions
How accurate is the AI colorization?
Skin, clothing and sky are usually close. Uniforms, signage and specific product colours are the unreliable cases; treat those as a starting point and adjust with the focus and tone controls.
Can I fix a colour the AI got wrong?
Yes, by re-running the photo with a different focus or tone. Region-by-region colour painting is not available in this version, so a correction applies to the whole image.
Does it work on faded colour photos, not just black and white?
Yes. Faded prints are re-saturated and corrected rather than invented, so the result keeps the photo’s original look.
Why did my photo come out with the wrong skin tone, or too vivid?
The usual causes are a small or partly shadowed face, a strong colour cast in the scan, or a sepia original that already shifted the brightness distribution. Try natural tone first; if the whole image is too strong, lower the tone and re-run.
Does colorizing reduce the resolution or quality of the photo?
Colour is added on top of the original luminance, and the output follows the resolution you select. A low-resolution scan does not become sharper by being colorized.
I have a whole album — will the colors match across photos?
Photos from the same roll and decade tend to get similar palettes, but consistency is not guaranteed. Review each result before printing a set; do not assume one batch will match perfectly.
Which photos colorize worst?
Profiles and faces partly covered by a hand, uniforms and signage you can verify from a record, and heavily damaged prints. Those are also the cases where a wrong colour is most noticeable.
Related tools
Related guides
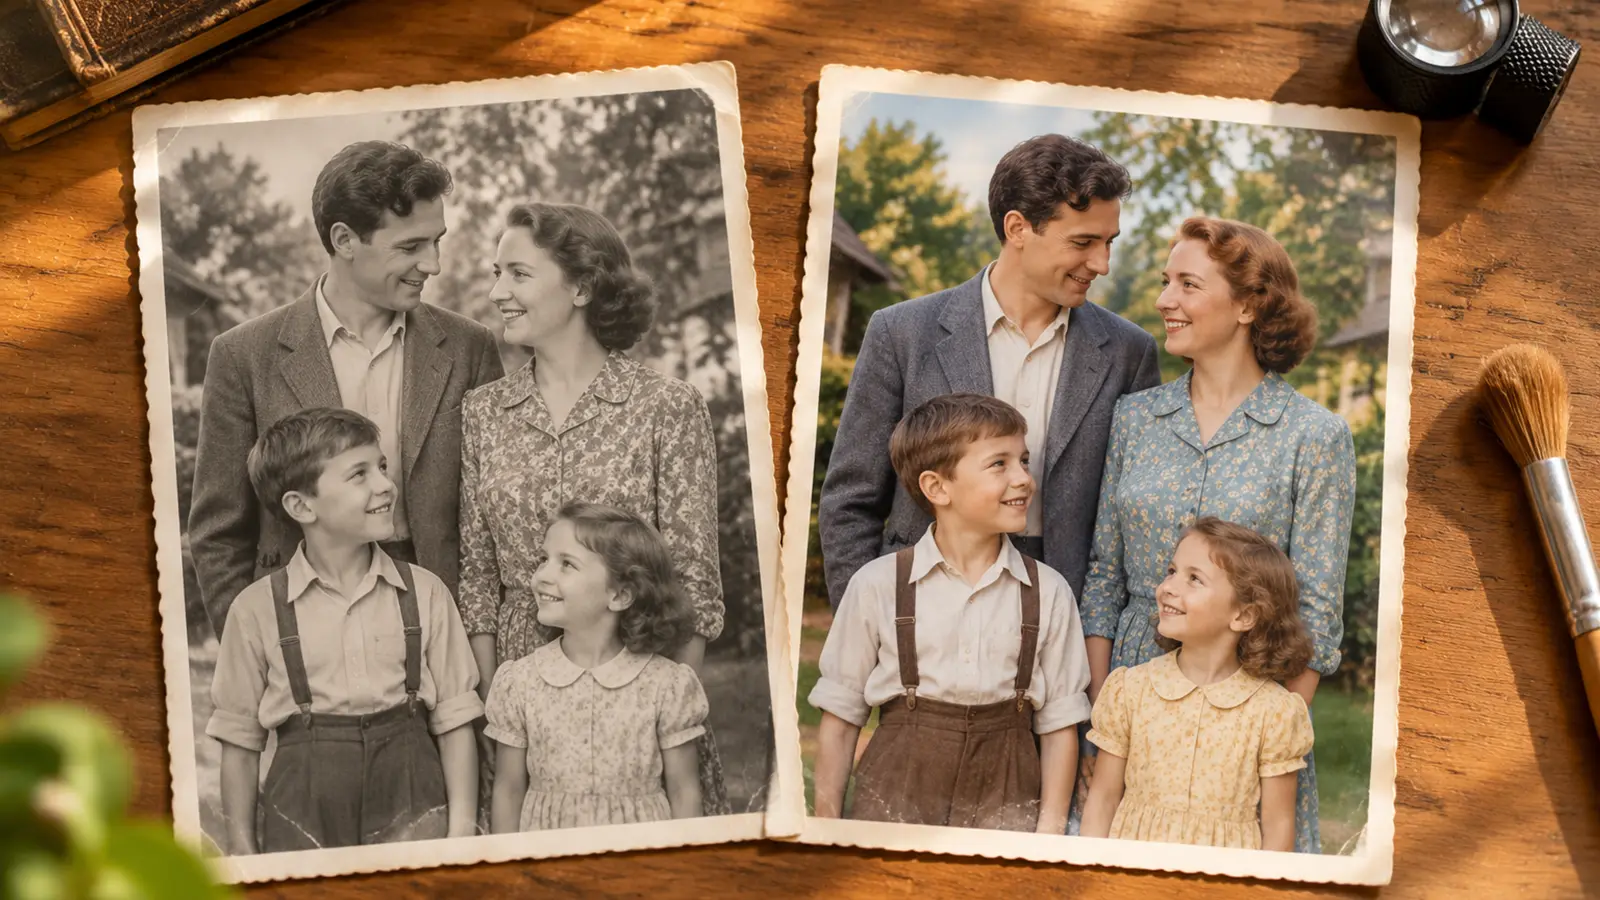
How to Colorize Black and White Photos (Without Plastic Skin)
A practical guide to colorizing old black-and-white photos: scan settings, repair order, focus/tone controls, and when automatic colour fails.
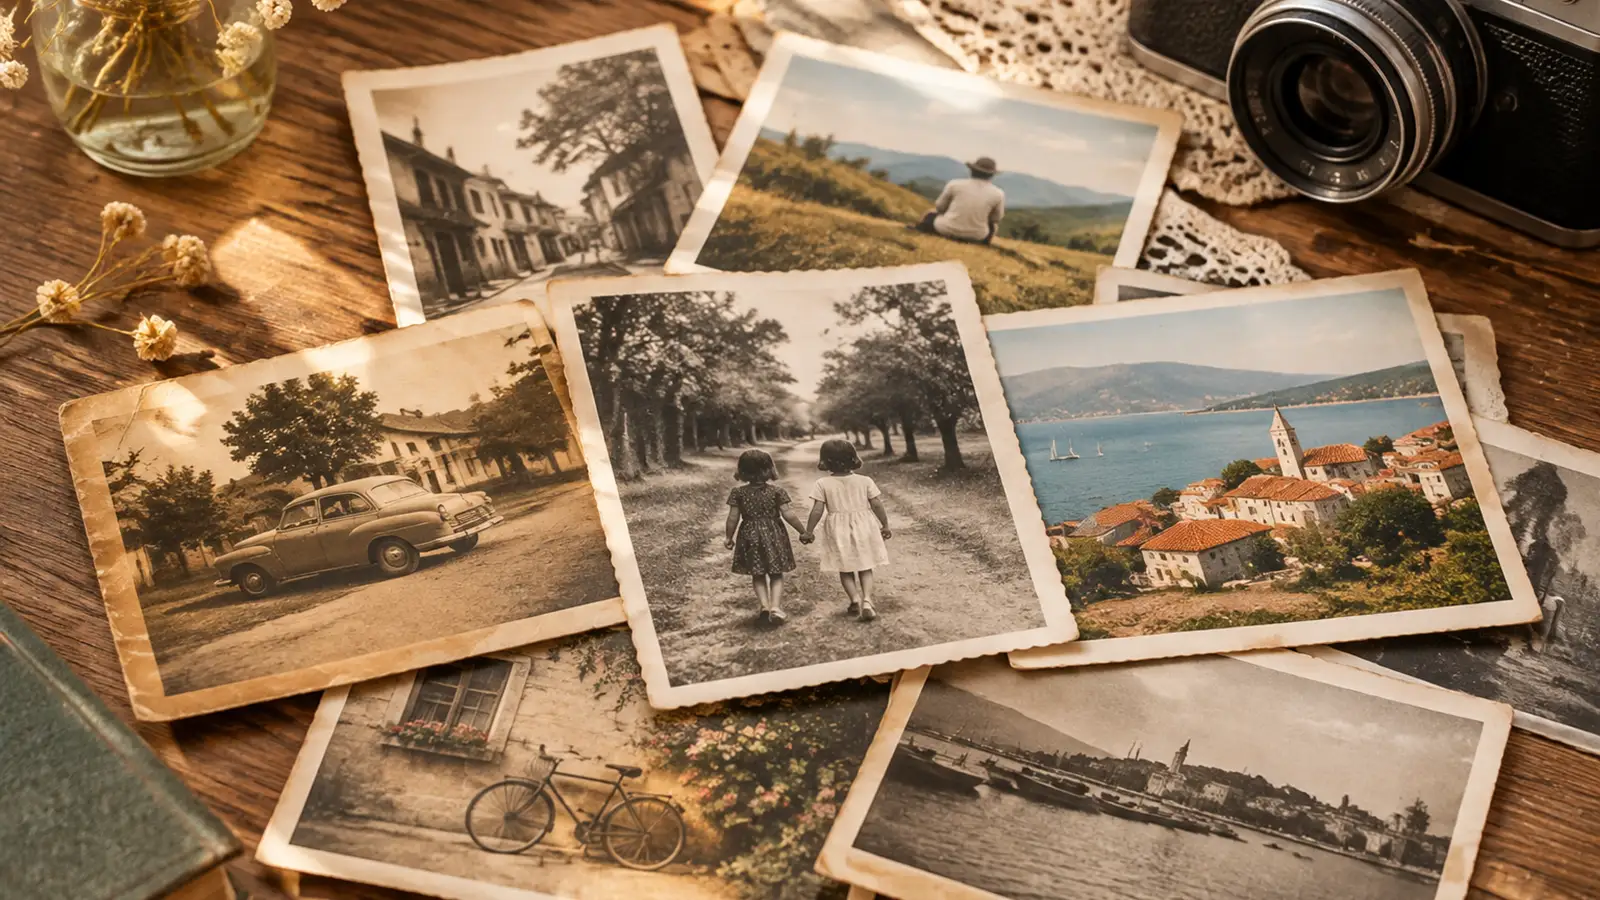
Vintage Photo Restoration Guide: What to Expect by Decade
How photographs from the 1920s to the 1980s age differently, what damage is typical for each era, and what a restoration can and cannot recover.
See exactly what each plan includes, or buy a one-time credit pack.
Compare plans and credit packs